

About Visrez
Trusted by more than 7,000 professionals worldwide, Visrez is used by Hotels, Resorts, Convention Centers, Event Venues, Stadiums, Event Planners and Production Partners to bring events to life in stunning 3D.
Visrez has grown with no outside investment, driven by the quality of our products and exceptional support. Our platform is continuously improved based on user feedback with features released without upgrade fees.
Every Visrez account includes the same full-featured software, regardless of the number of users or spaces. Clients manage their own teams with unlimited users, giving everyone access without additional costs.
Visrez does not lock clients into multi-year contracts or impose annual price increases to satisfy investors. As a self-funded, independent company, we focus on building products our customers love, continuously improving, and earning new business through word of mouth referrals.
Drag & Drop Creation Tools
Users can drag & drop objects into their plans if you don’t need to draw them in larger quantities. For example a single object like a podium can be dragged straight into the plan.
Intuitive Object Controls – ‘Expand, Reduce, Move, Space, Rotate’
The latest release combines the blue expand circles with the move and rotate tools. Now by clicking on any single object or block of objects in your plan you can increase that block using the blue expand circles.
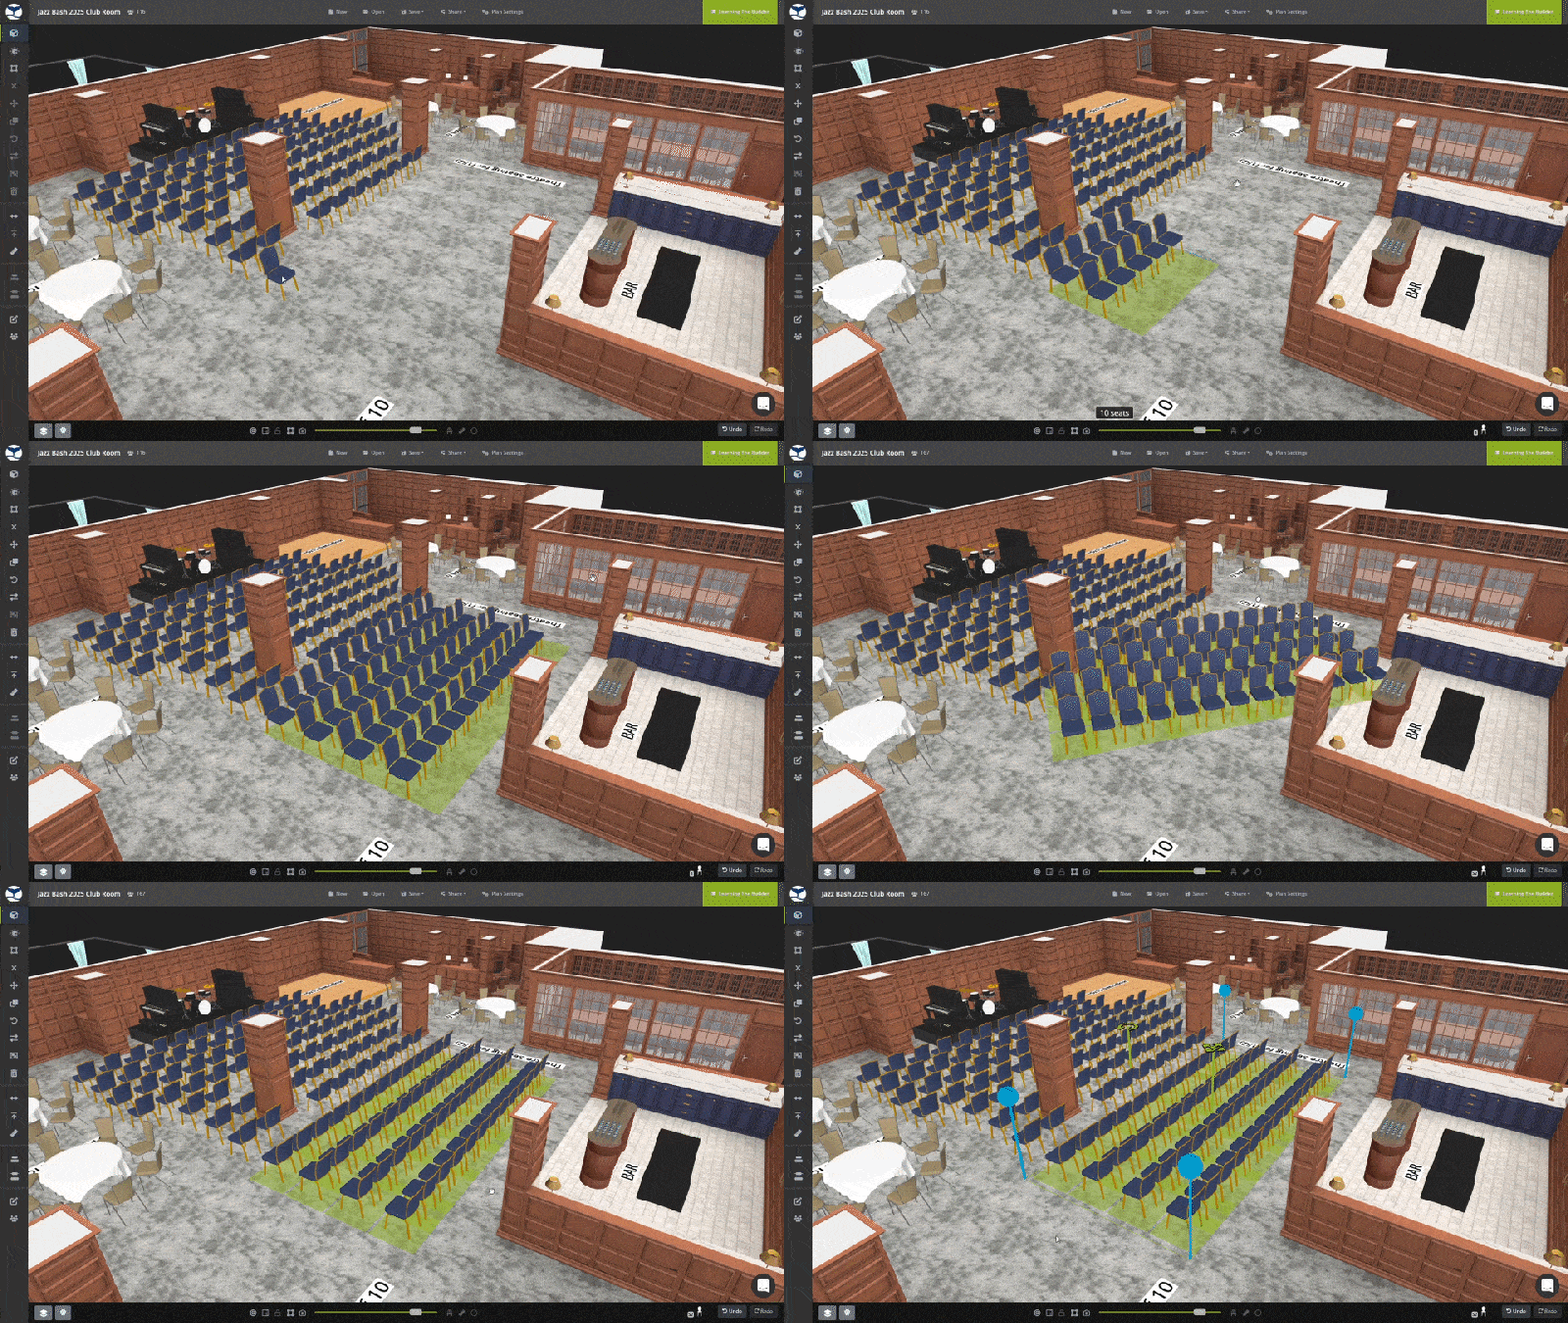
Drag to Draw with a Mouse
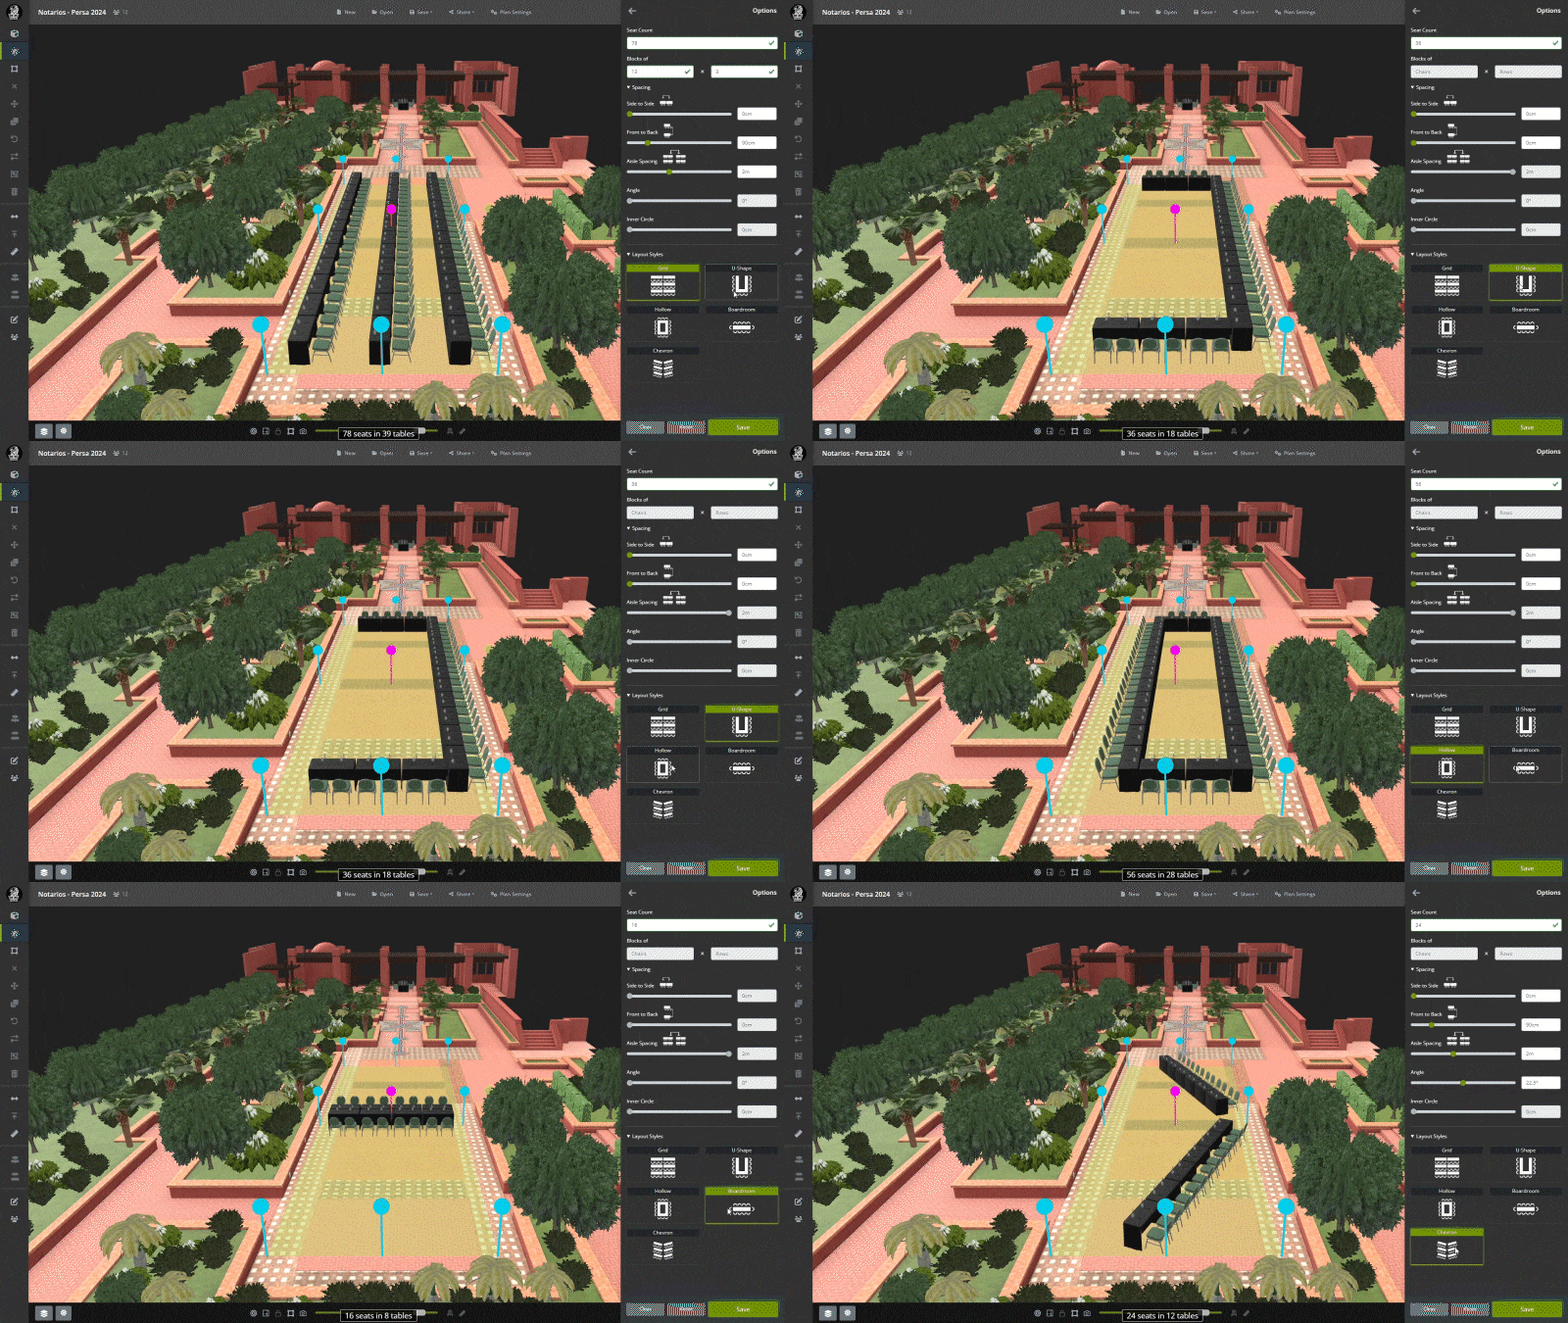
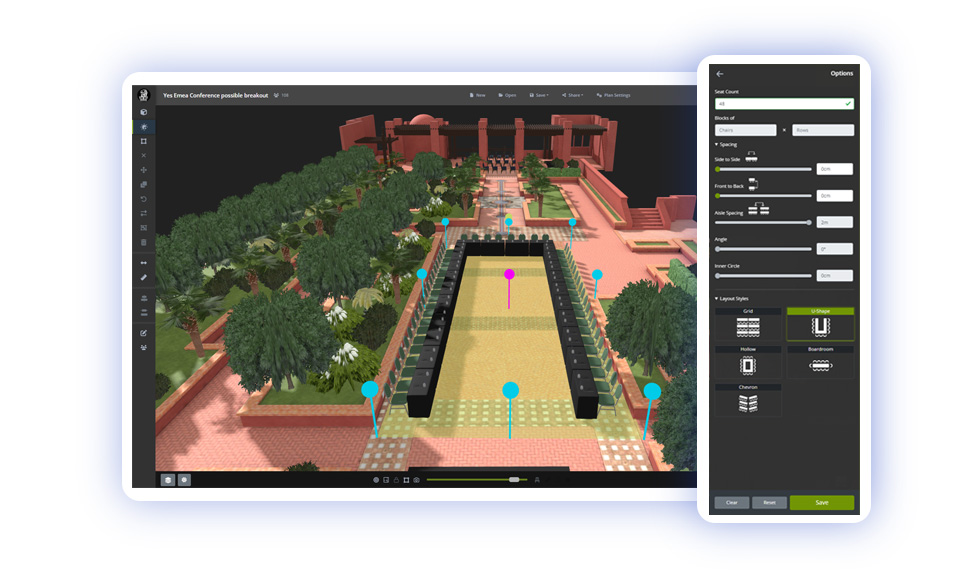
The Build Tool allows users to create plans in many different ways and is fun to work with. Users can specify the exact number of objects or draw with the mouse to fill the space. Sliders adjust the front to back or side to side spacing and you can also set the Aisle spacing or inner diameter for circle or semi-circle layouts.
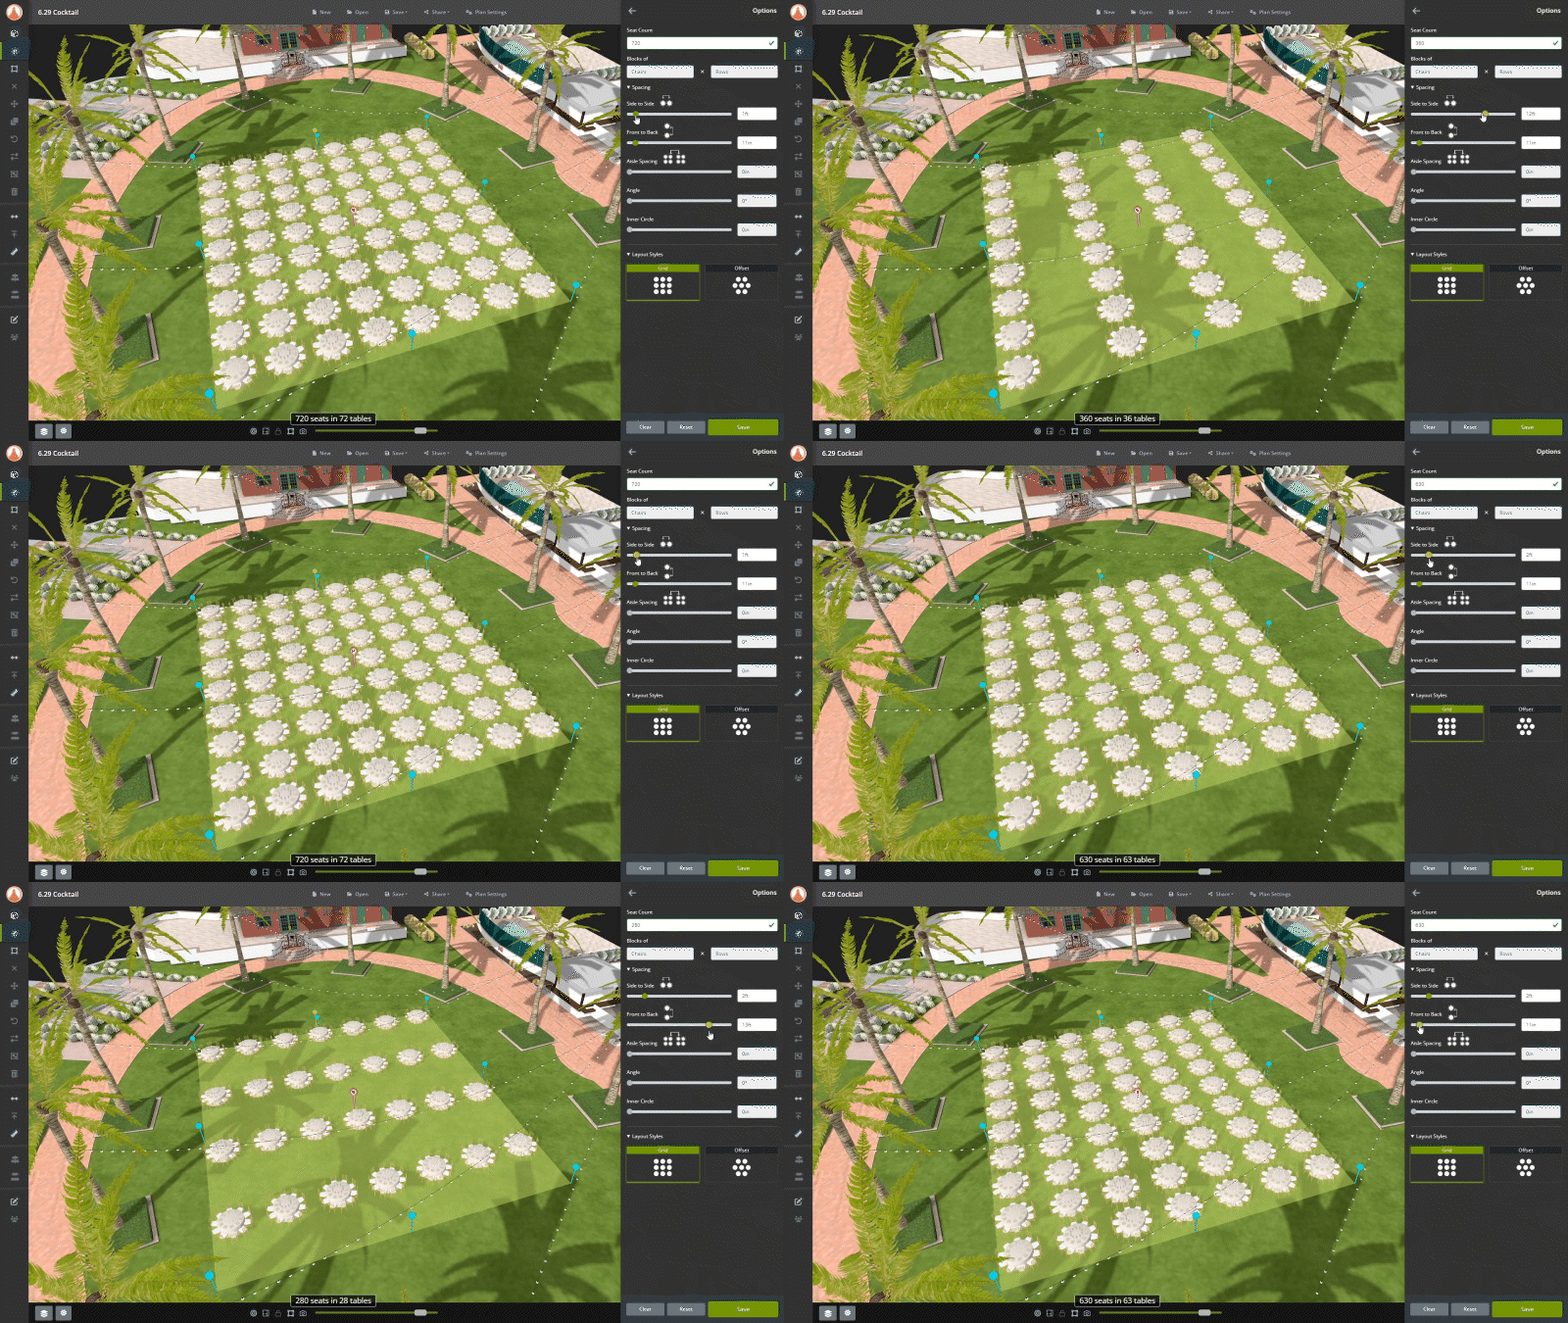
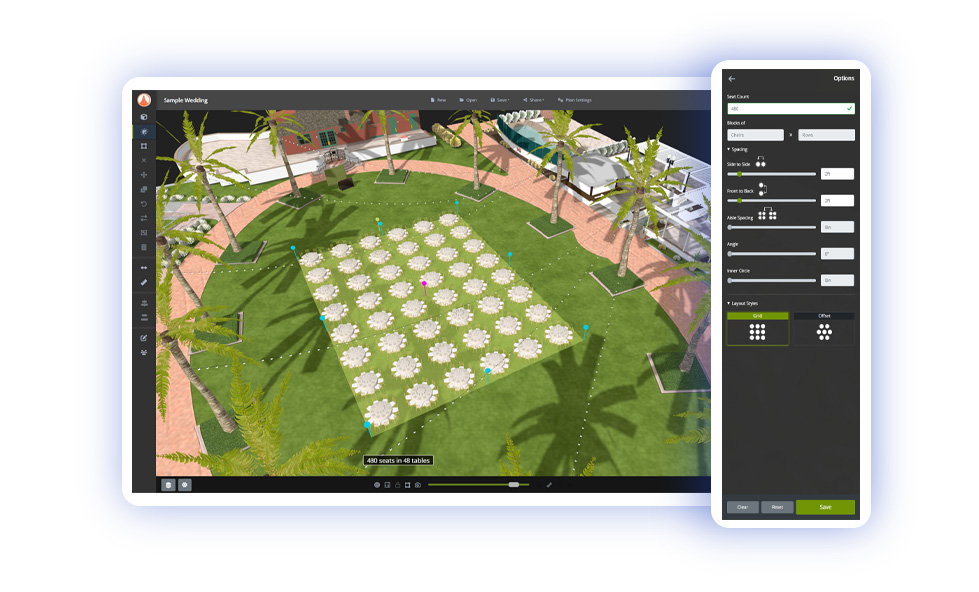
Leaving the number field empty allows you to draw a set-up by clicking and dragging the mouse inside the spаce. You can increase or decrease the selected area using the blue markers to add more objects.
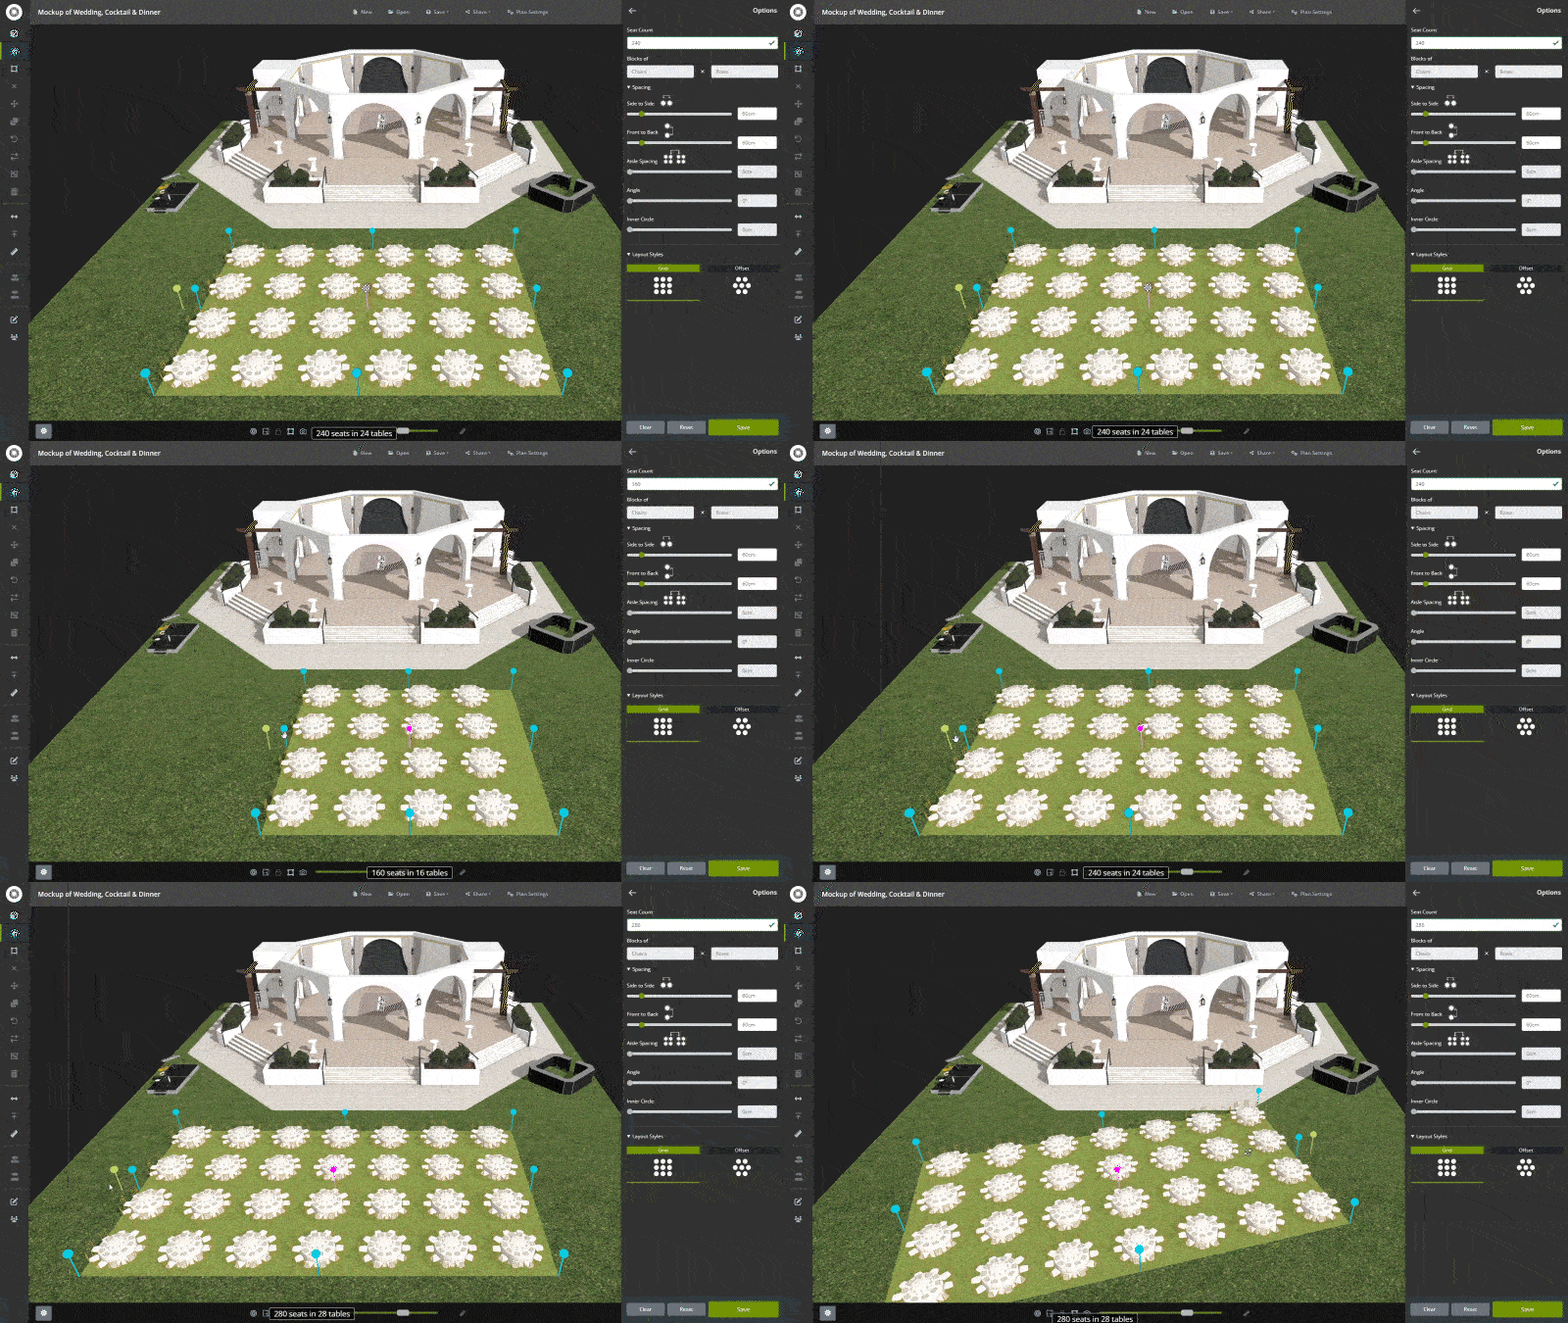
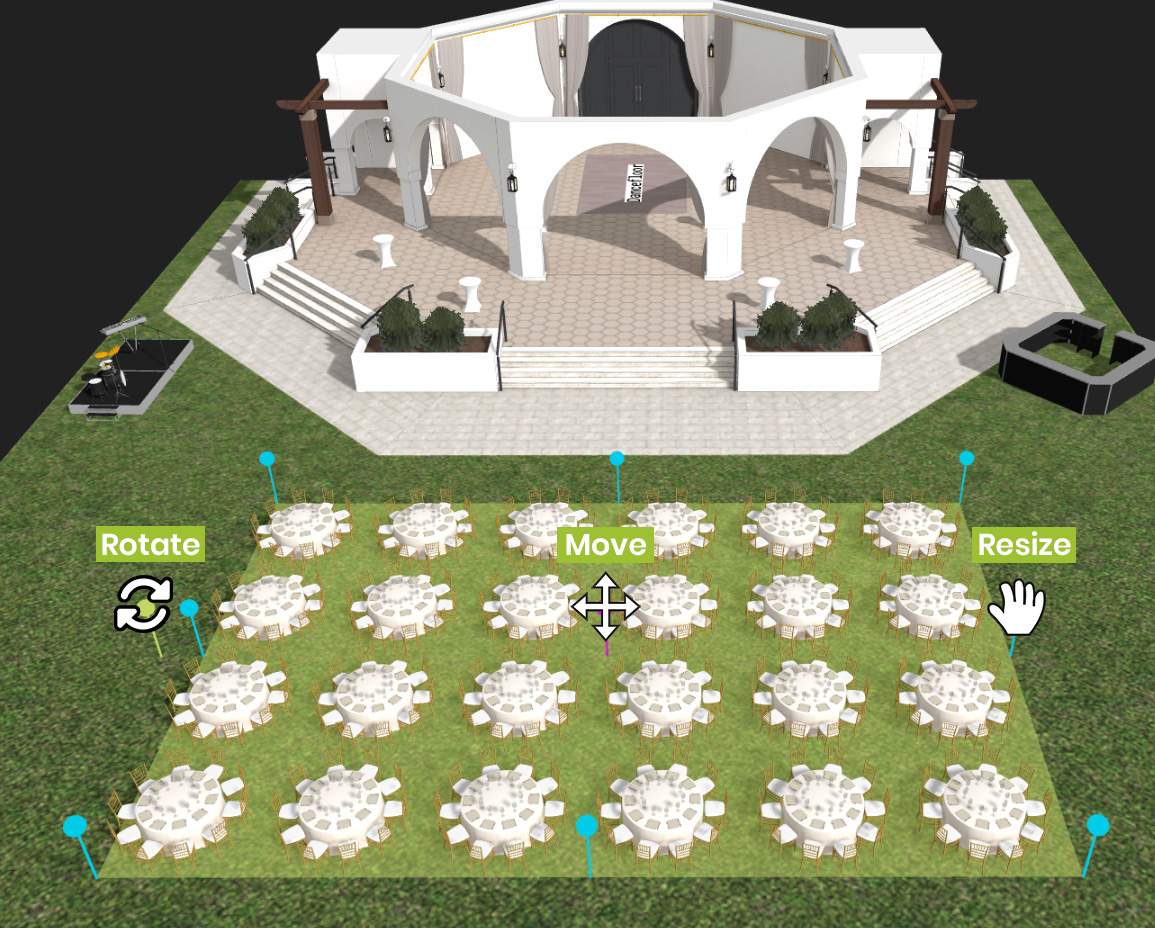
All styles can be adjusted using the layout style buttons and the object spacing allows you to increase or decrease the amount of spacing between furniture. Once the set looks good, click Save or Clear to start over.
Main Menu Controls
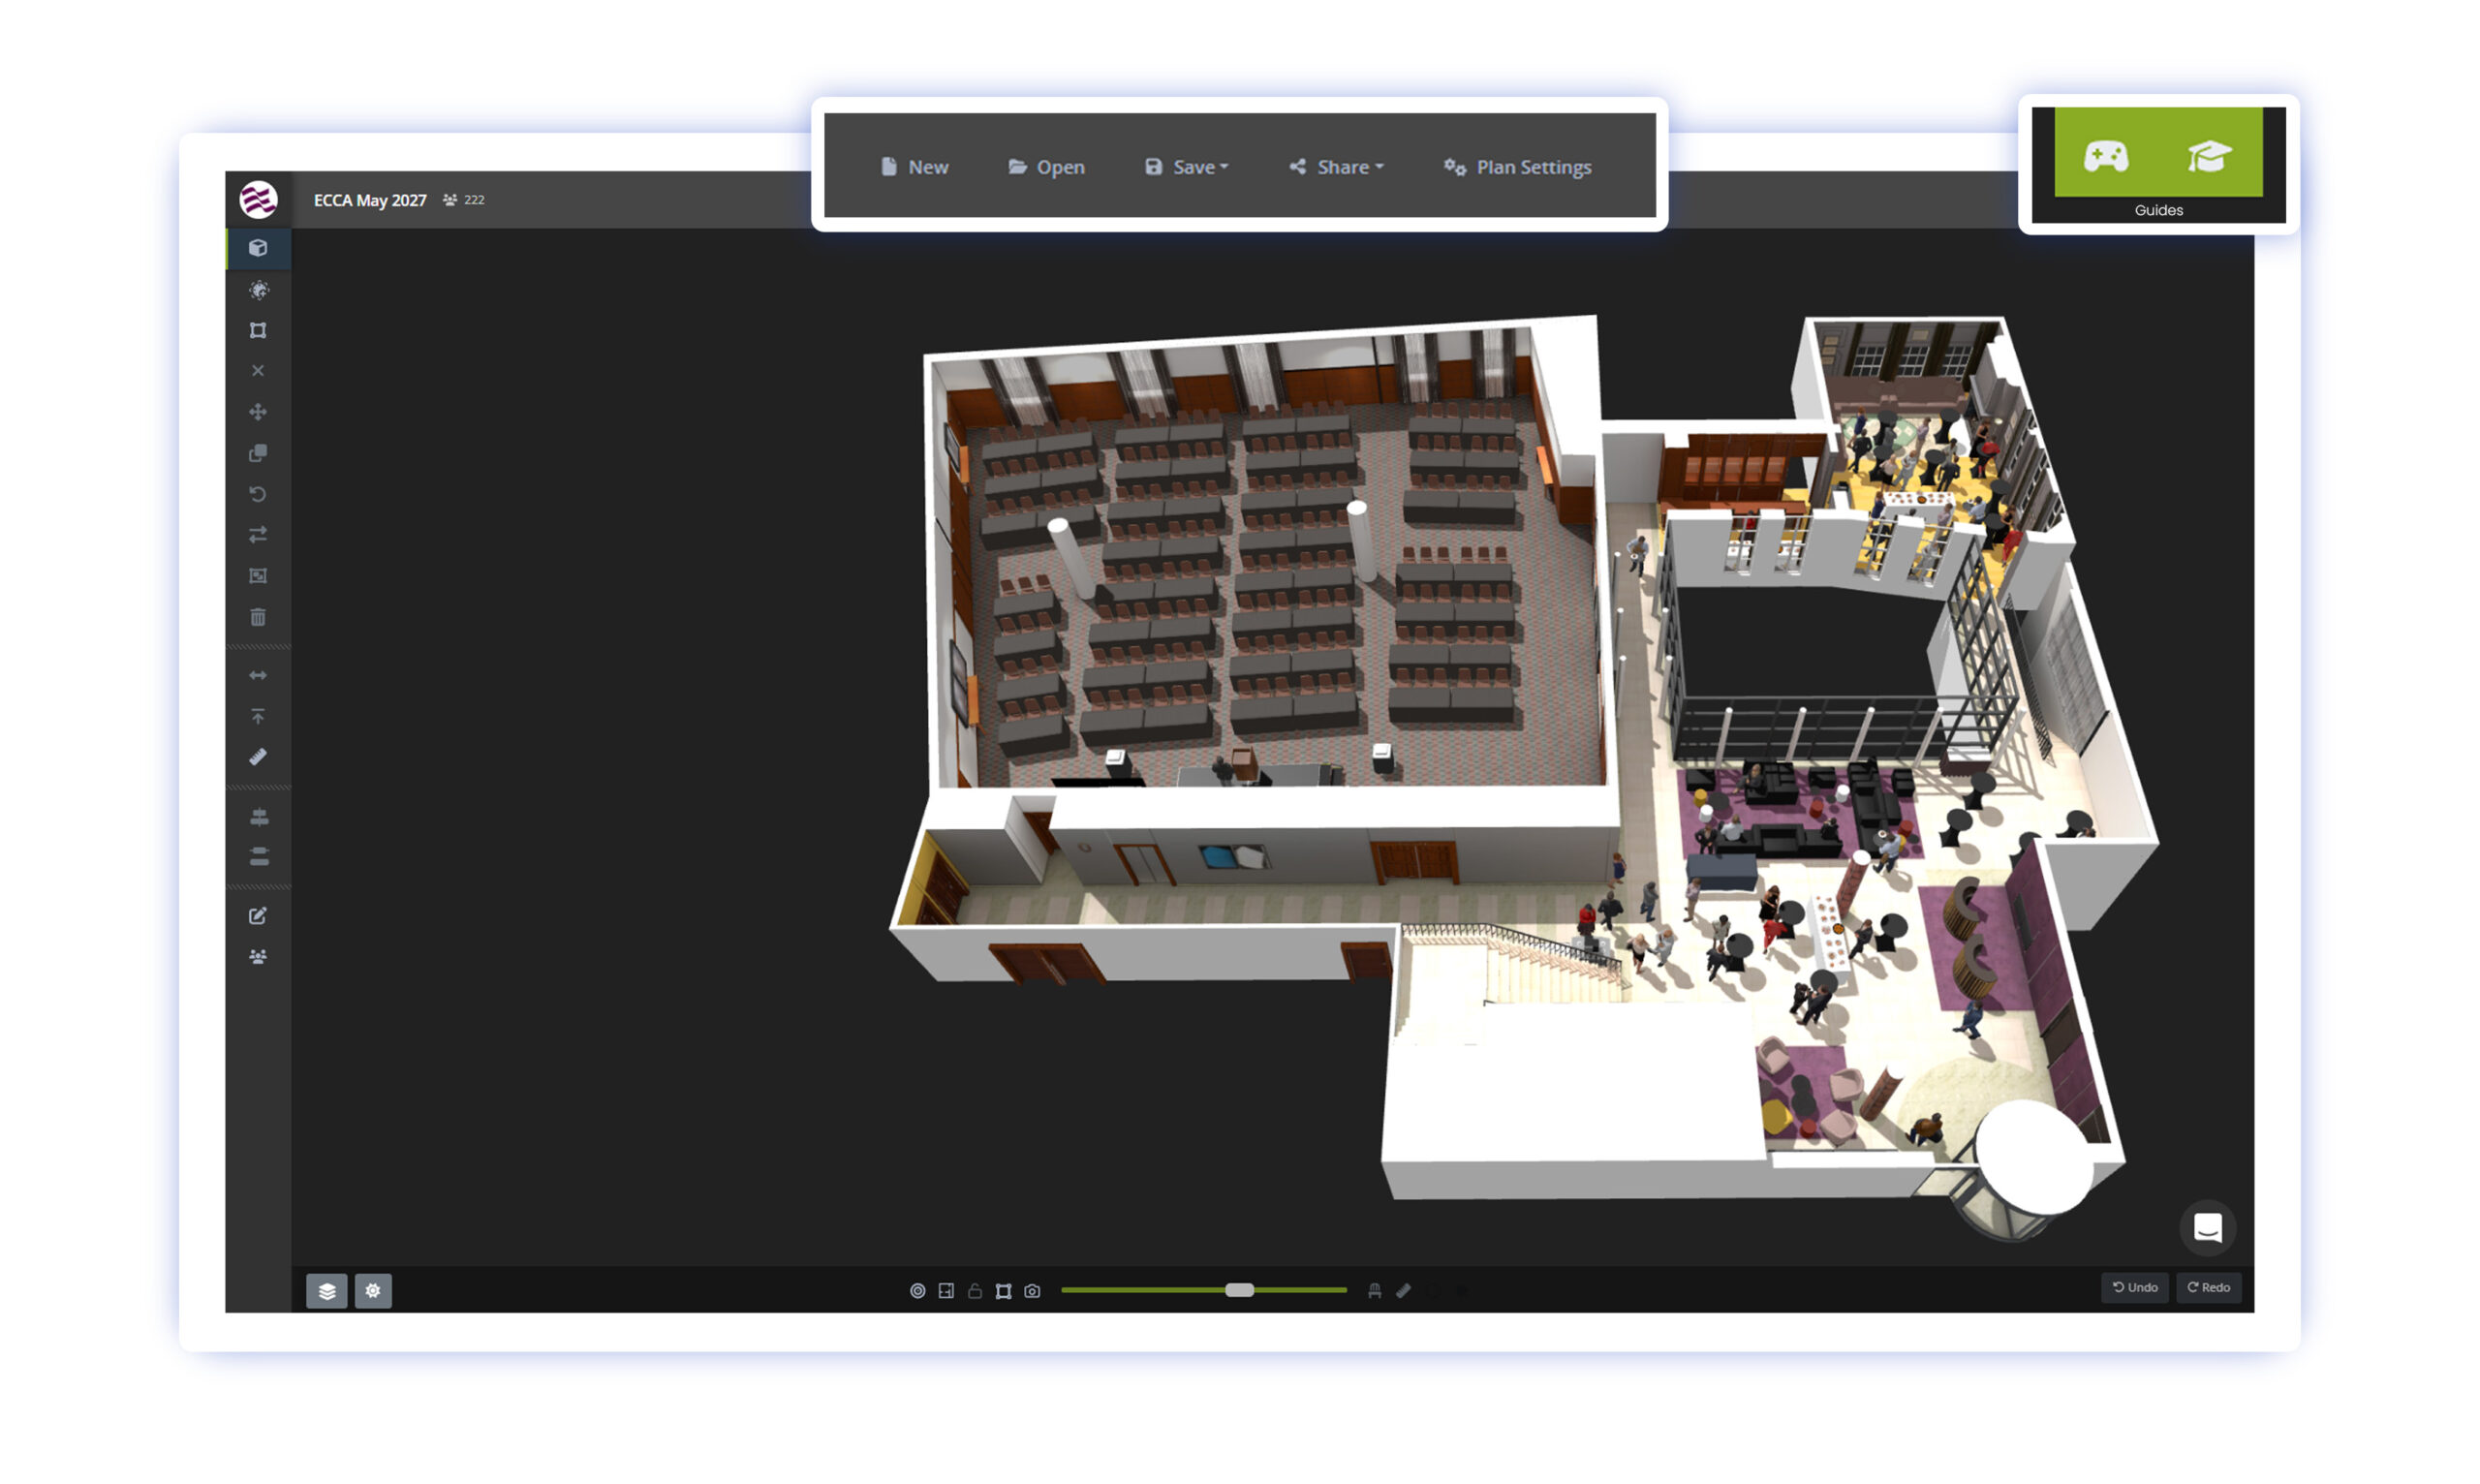
The main menu runs vertically on the left hand side of the builder starting at the client account logo.
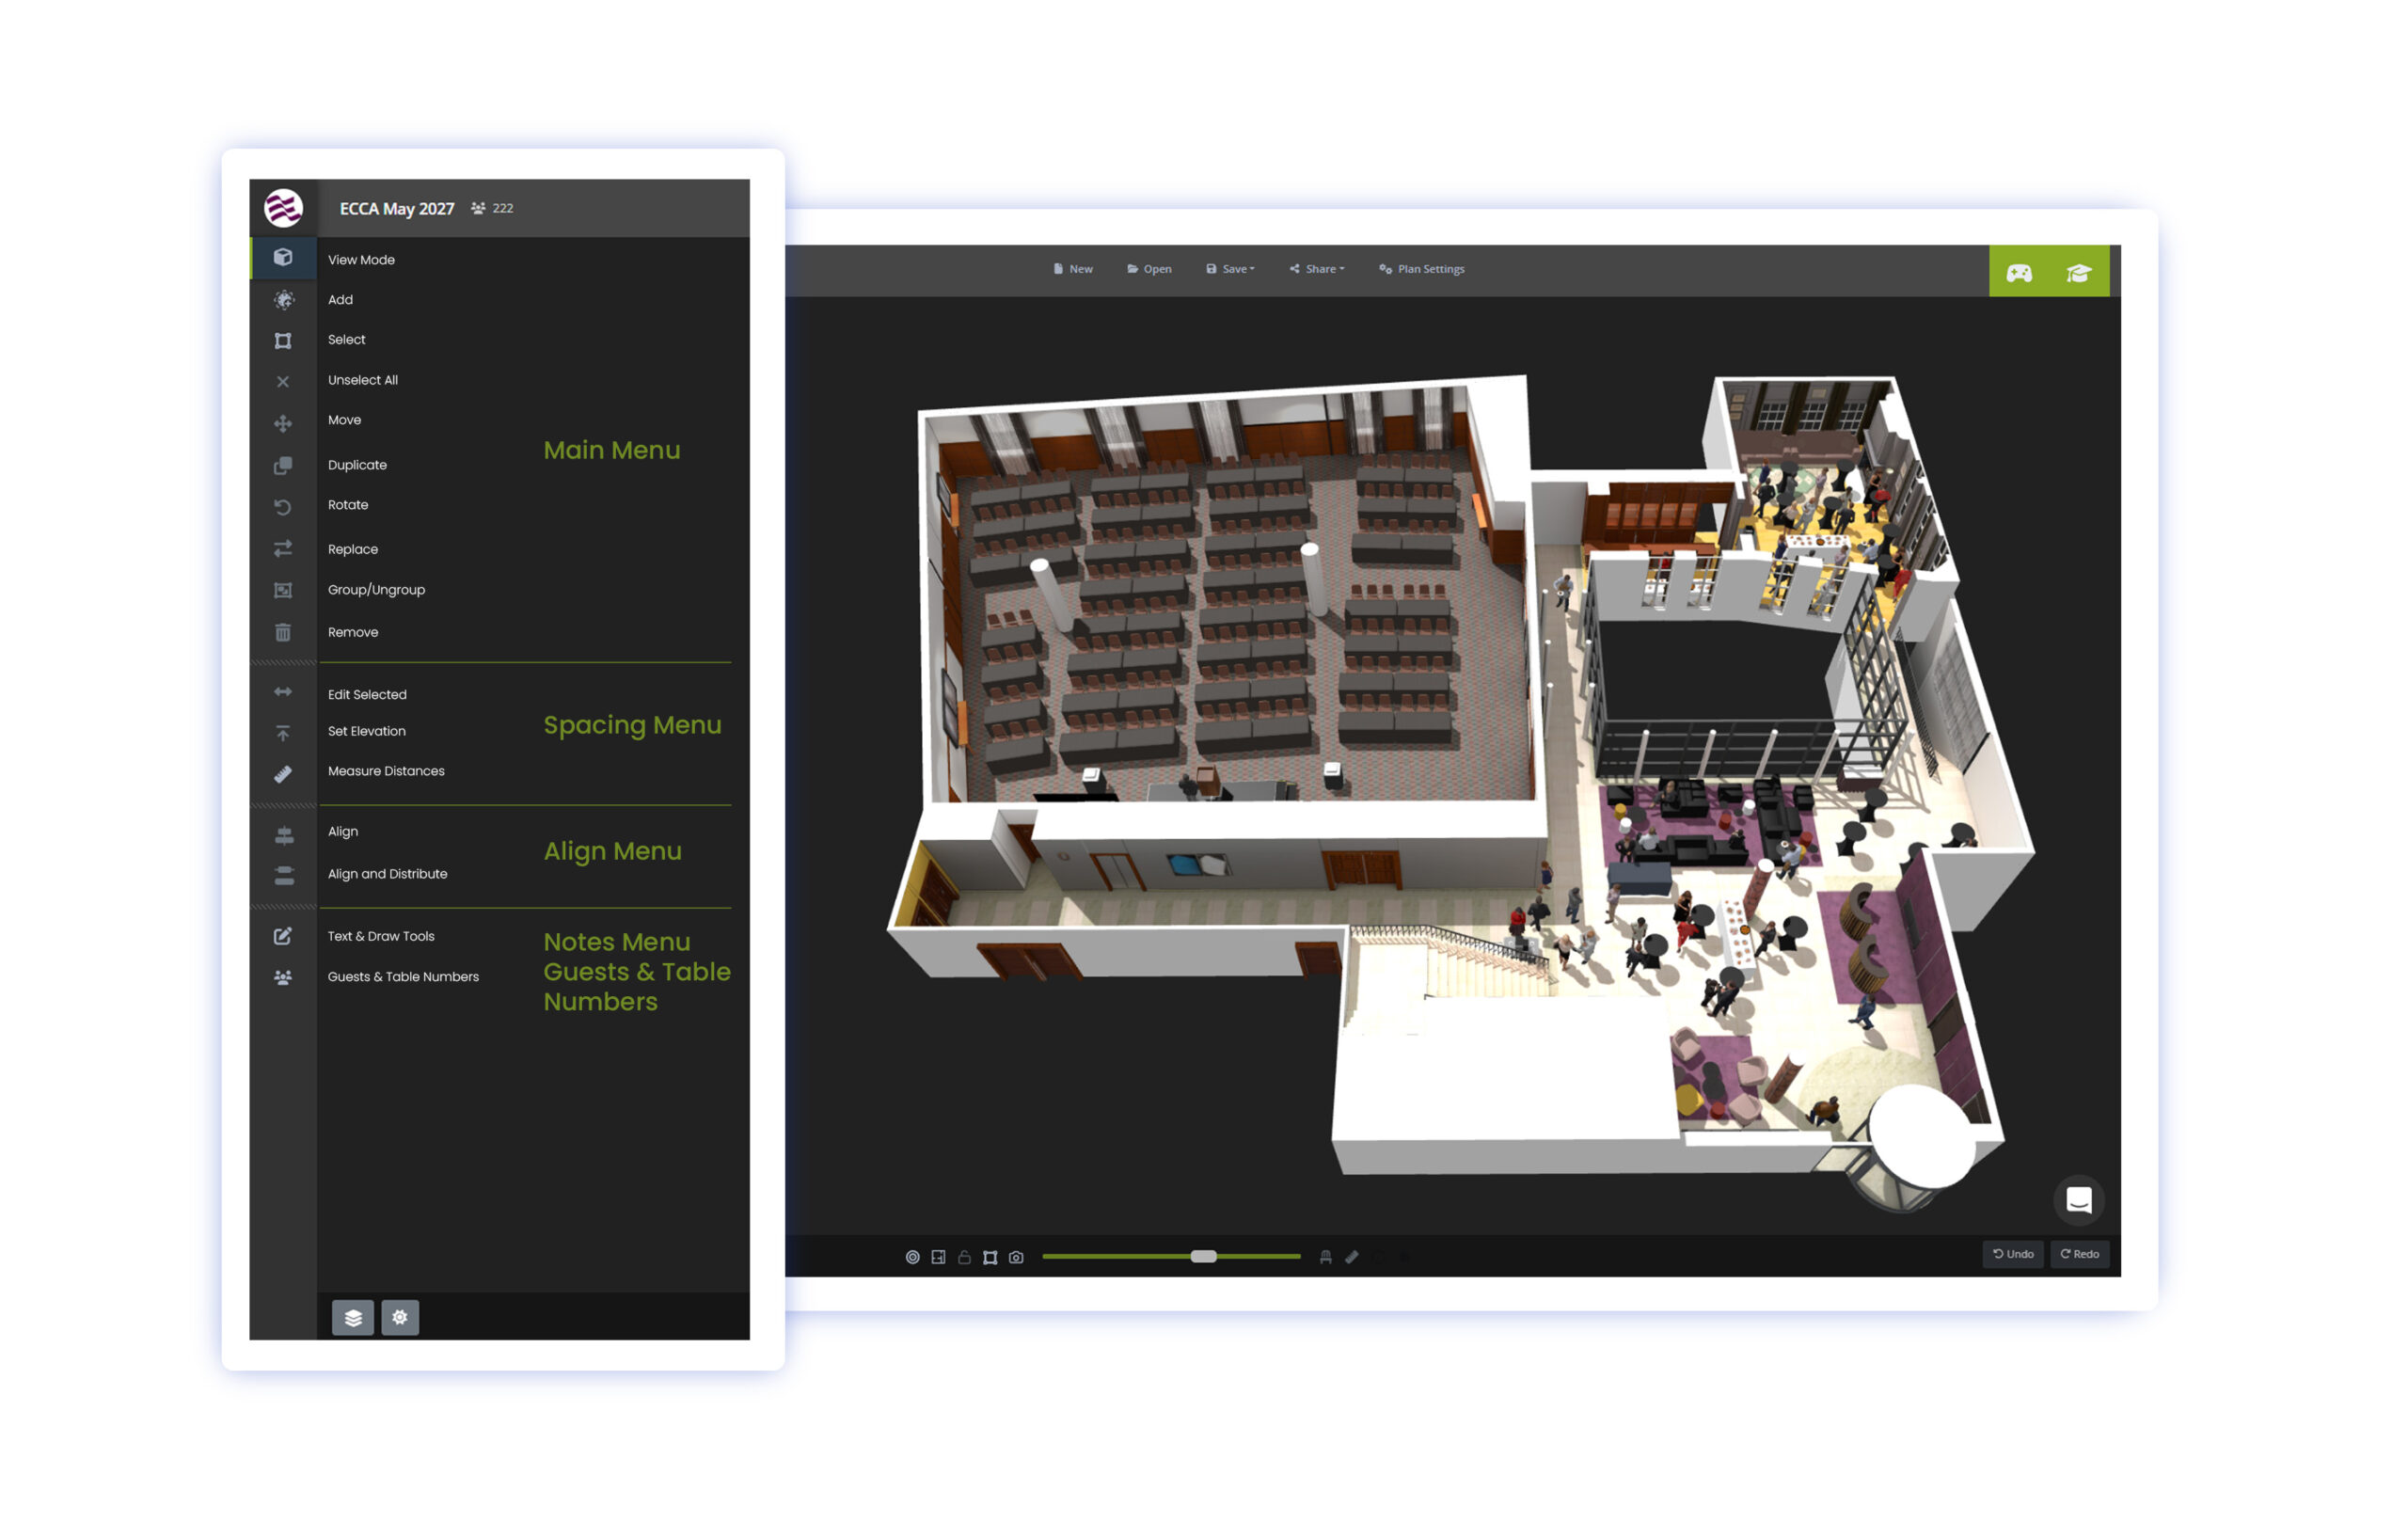
The upper menu diplays the plan name, guest count along with the saving and exporting options.
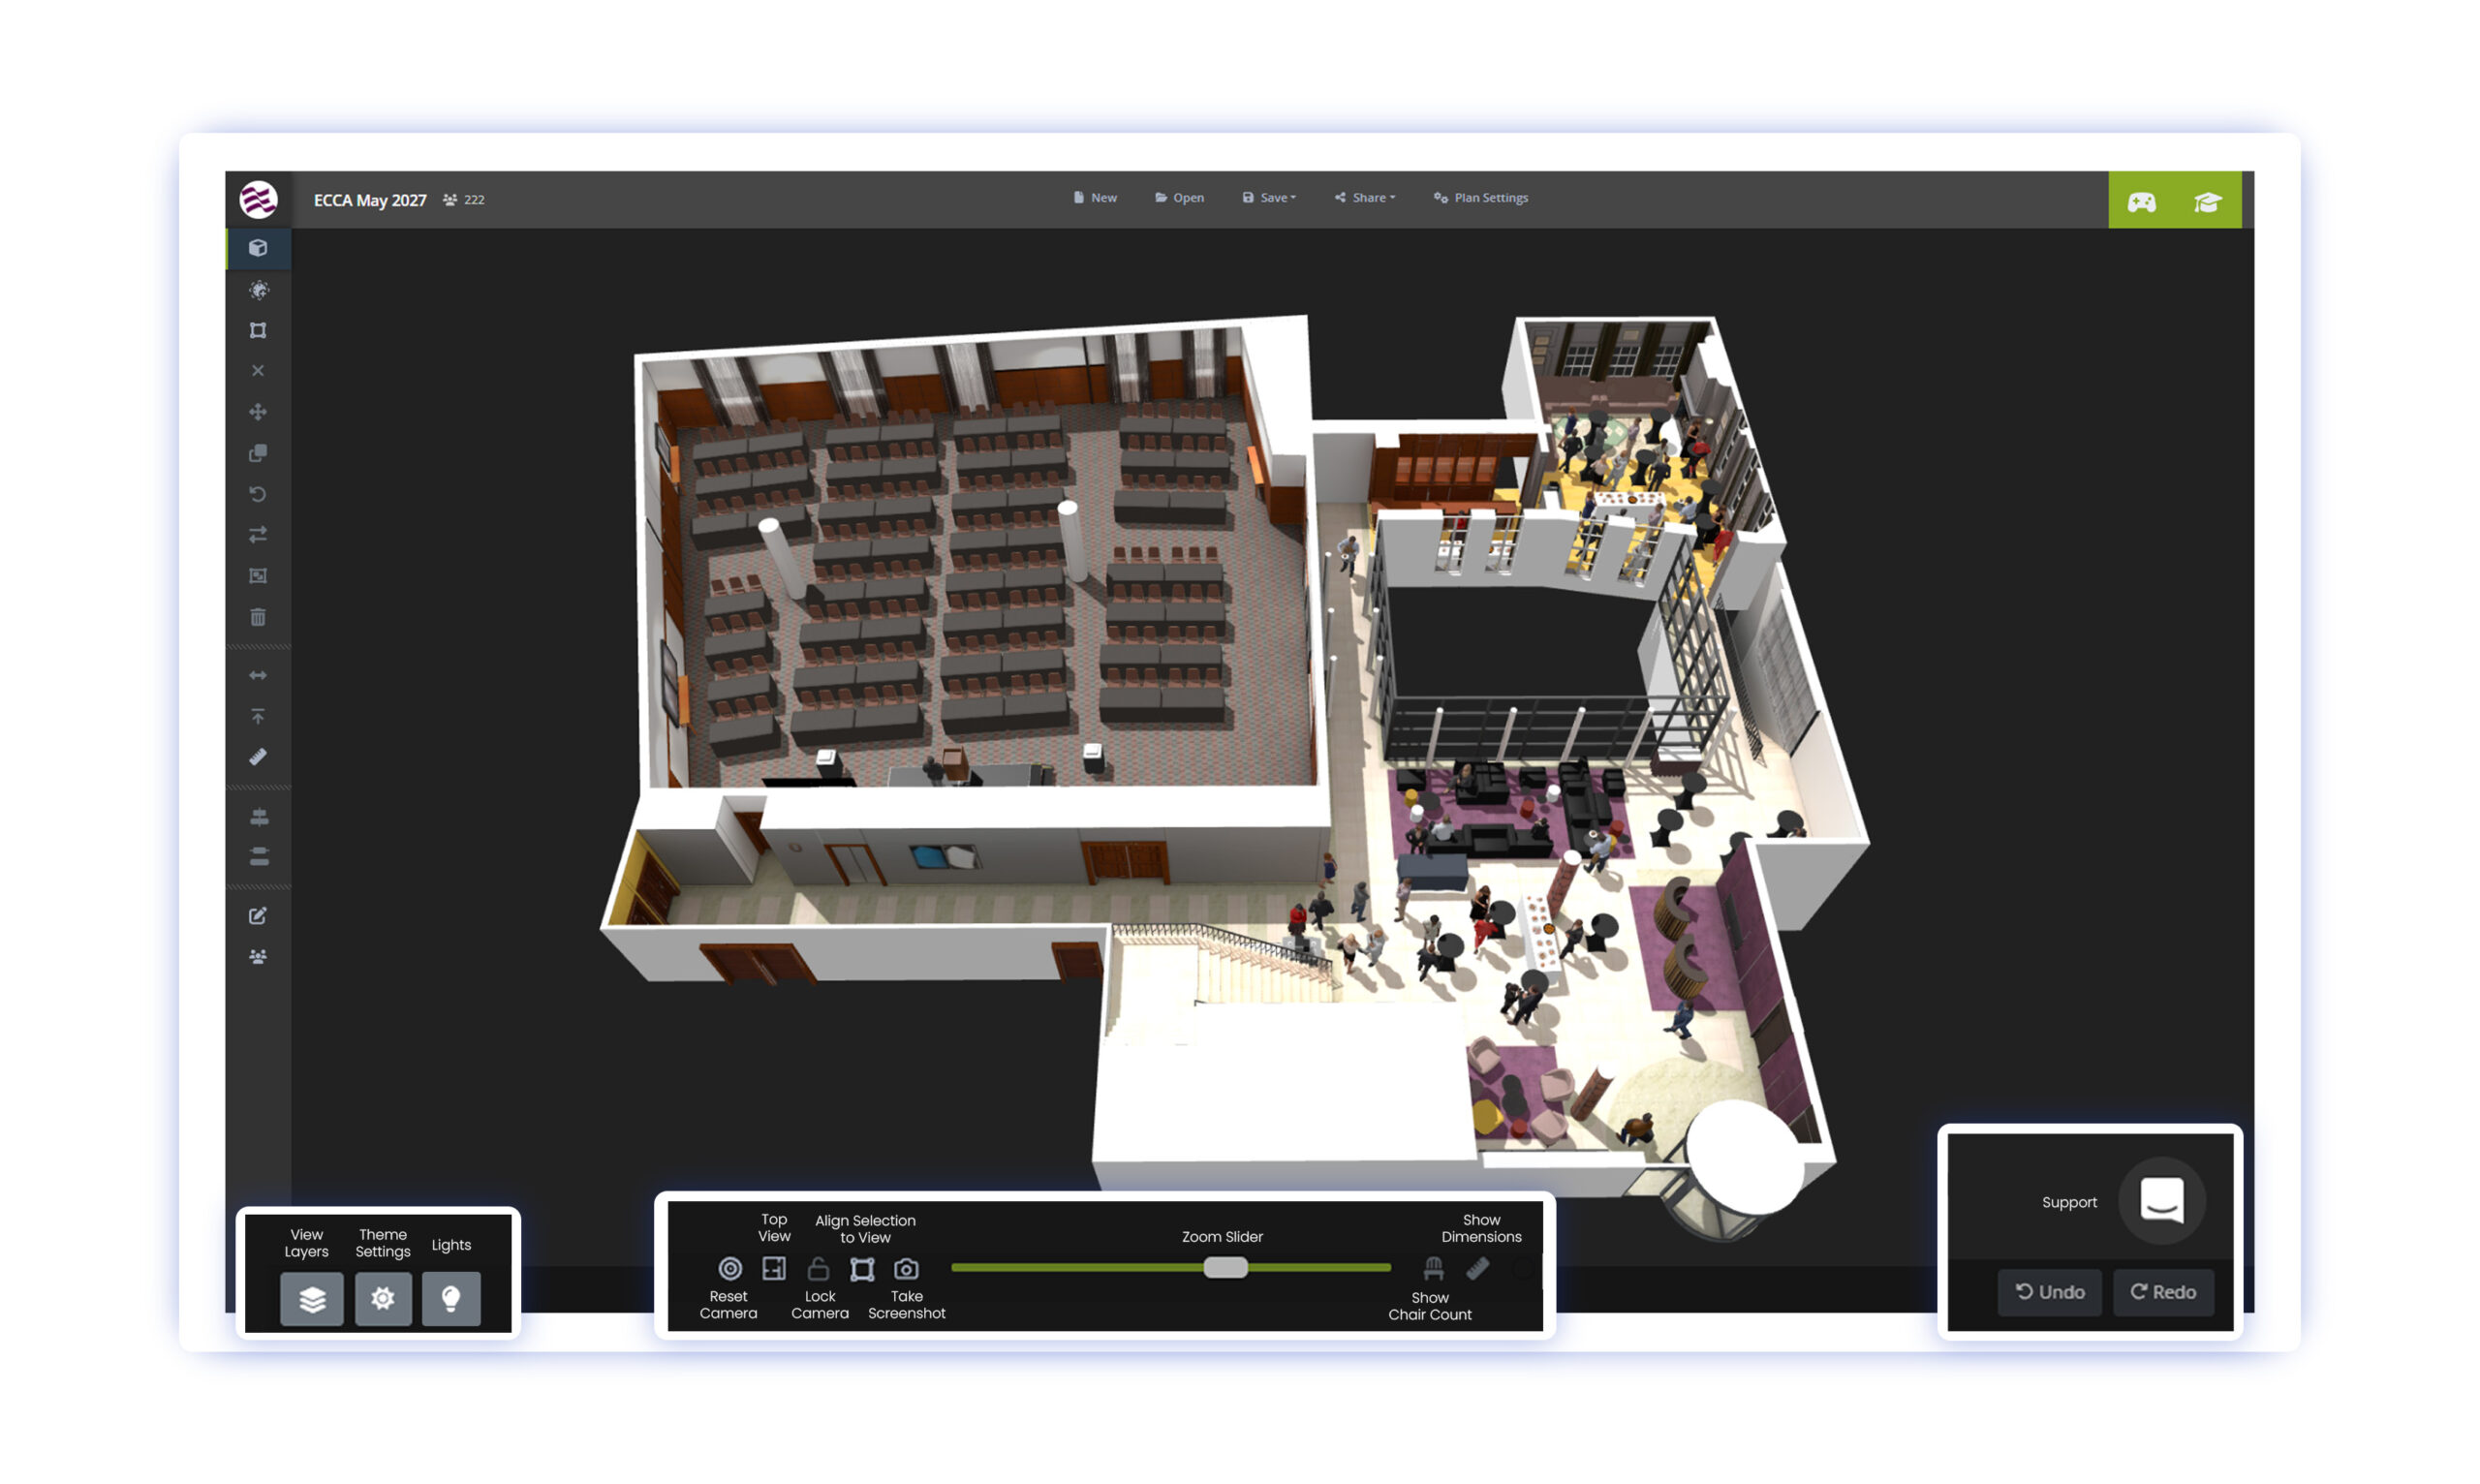
The lower menu is used to control elements within the plan such as layers, lights along with view settings.
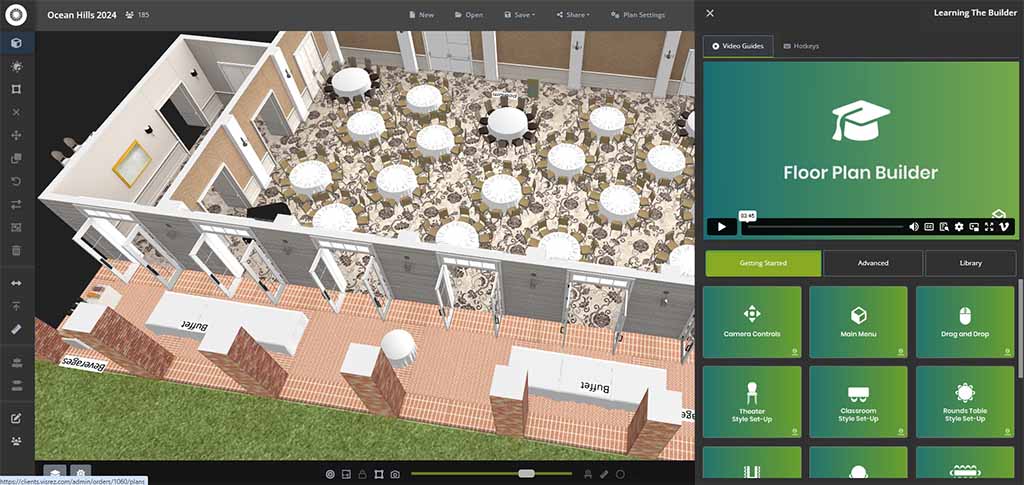
Video Guides in the Builder
In the top right corner you will see the User Guides which explains everything about the builder.
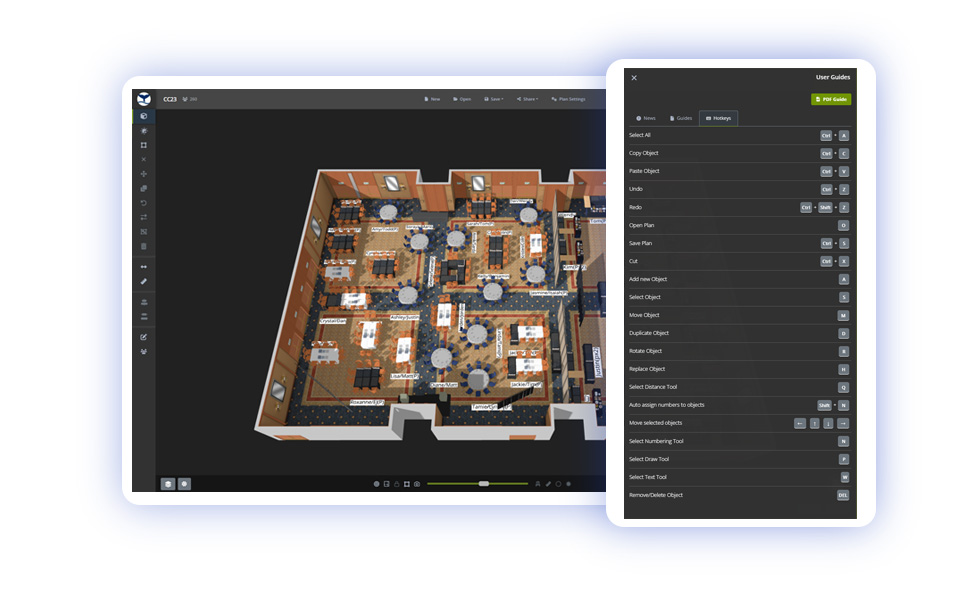
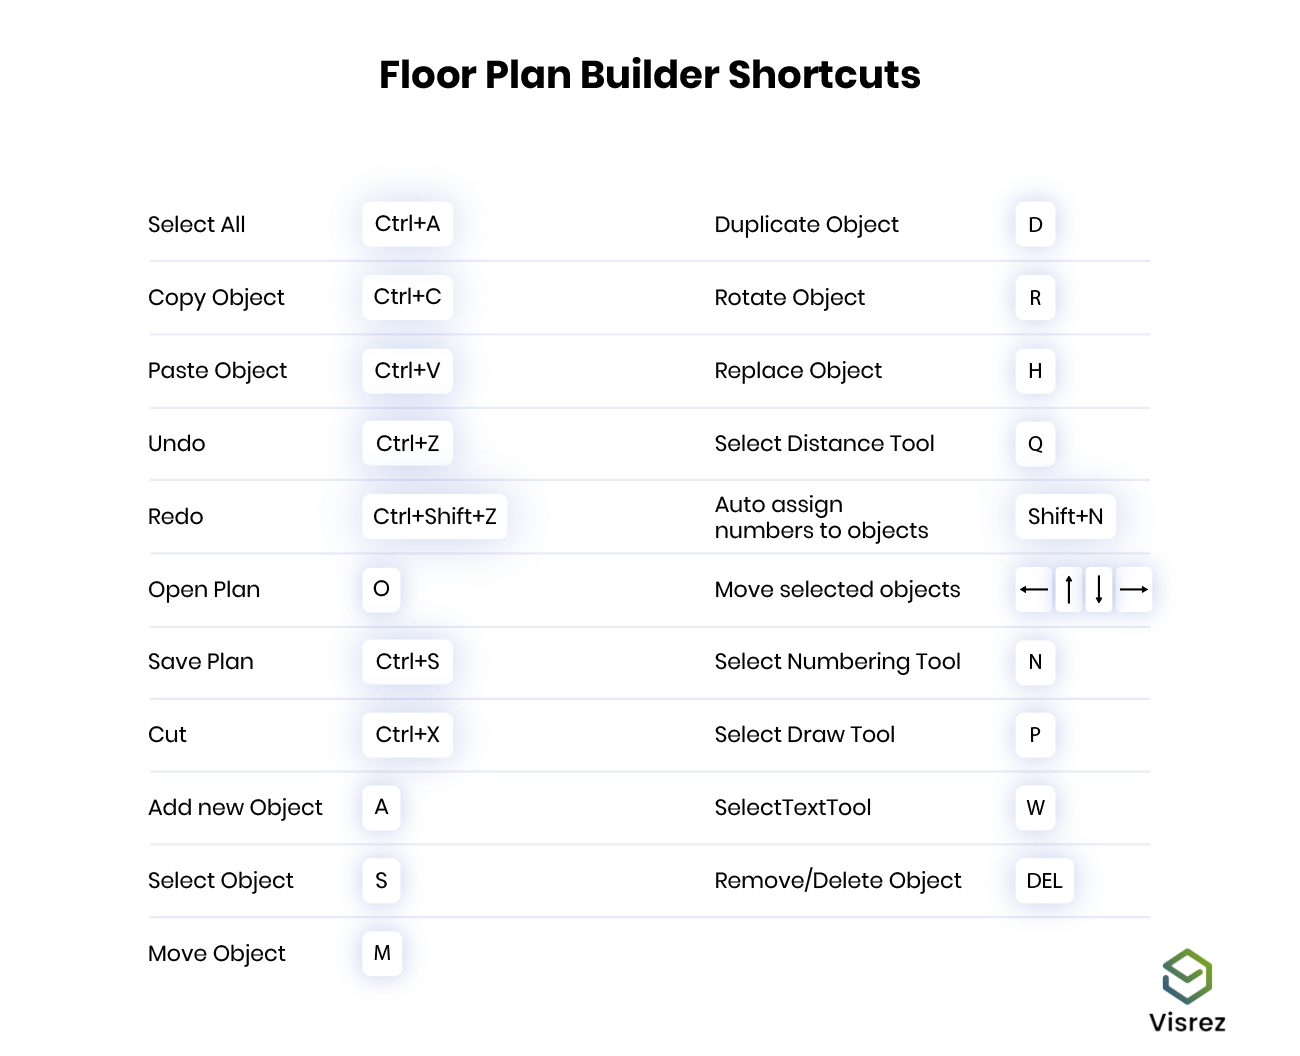
A list of shortcut keys is in the top right corner of your builder, we recommend learning these keys.
View in 2D Mode & Lock Camera
The lock function allows you to stop the room from rotating and is an ideal way for users to work in 2D format by first clicking on the Top-Down button in the lower menu and then clicking on lock the camera. This holds the space in a 2D top down position allowing ubjects can be selected, moved, duplicated or rotated without the space moving. Users can zoom in / out of the space without moving it sideways which allows you to create perfect 2D plans. This is a great way to learn the tools for those who are used to 2D diagrams. Locking the camera in top down view allows you to focus on the objects without moving the space.
Align Selection to View
Selecting objects with the mouse in a standard shaped space is simple but as we all know spaces can come in all shapes and size. If you need to diagram in an unusual shaped space the select tool can drag against the way you actually need it to go. For example in a diagonal or non-standard shaped space you may want the select tool to go in line with the room or furniture but it doesn’t. To solve this problem our team developed a feature to allow users to toggle the direction of the select tool in line with the direction of the space.
Layers & Airwall Controls
In the bottom left corner of the menu you will find the layers tool. This tool opens up a right side panel which contains a list of the elements within your space which can be turned on-off. Airwalls can be represented by a number or letter which allows them to be opened or closed. They can either be fully opened or closed. To partially divide a space it is recommended to use a room divider object from the Visrez library.
The carpets and flooring elements in a space can also be deactivated using the layers tool as quite often the design pattern on carpets can be quite busy and make it difficult to view the furniture in the plan.
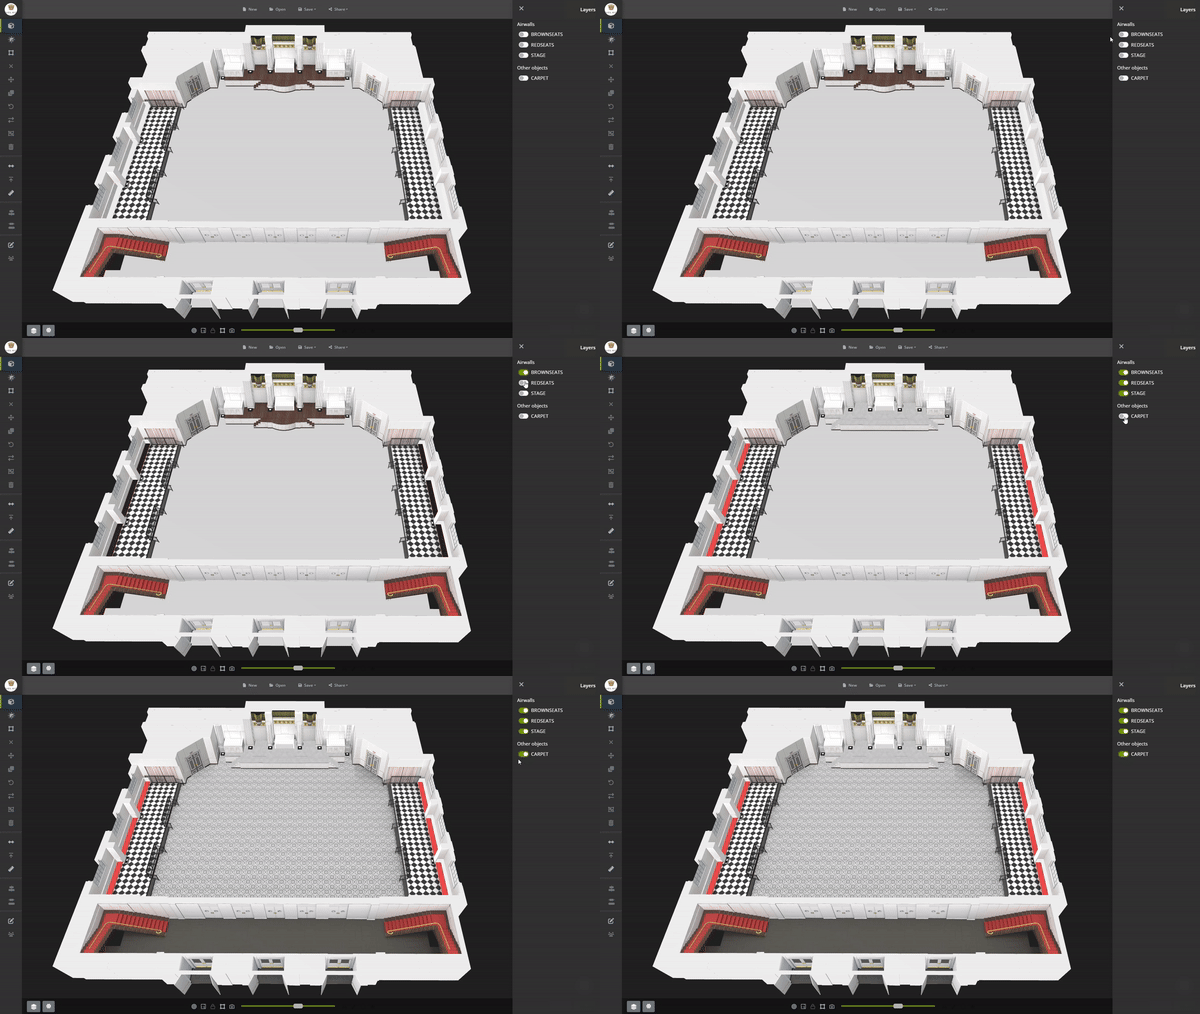
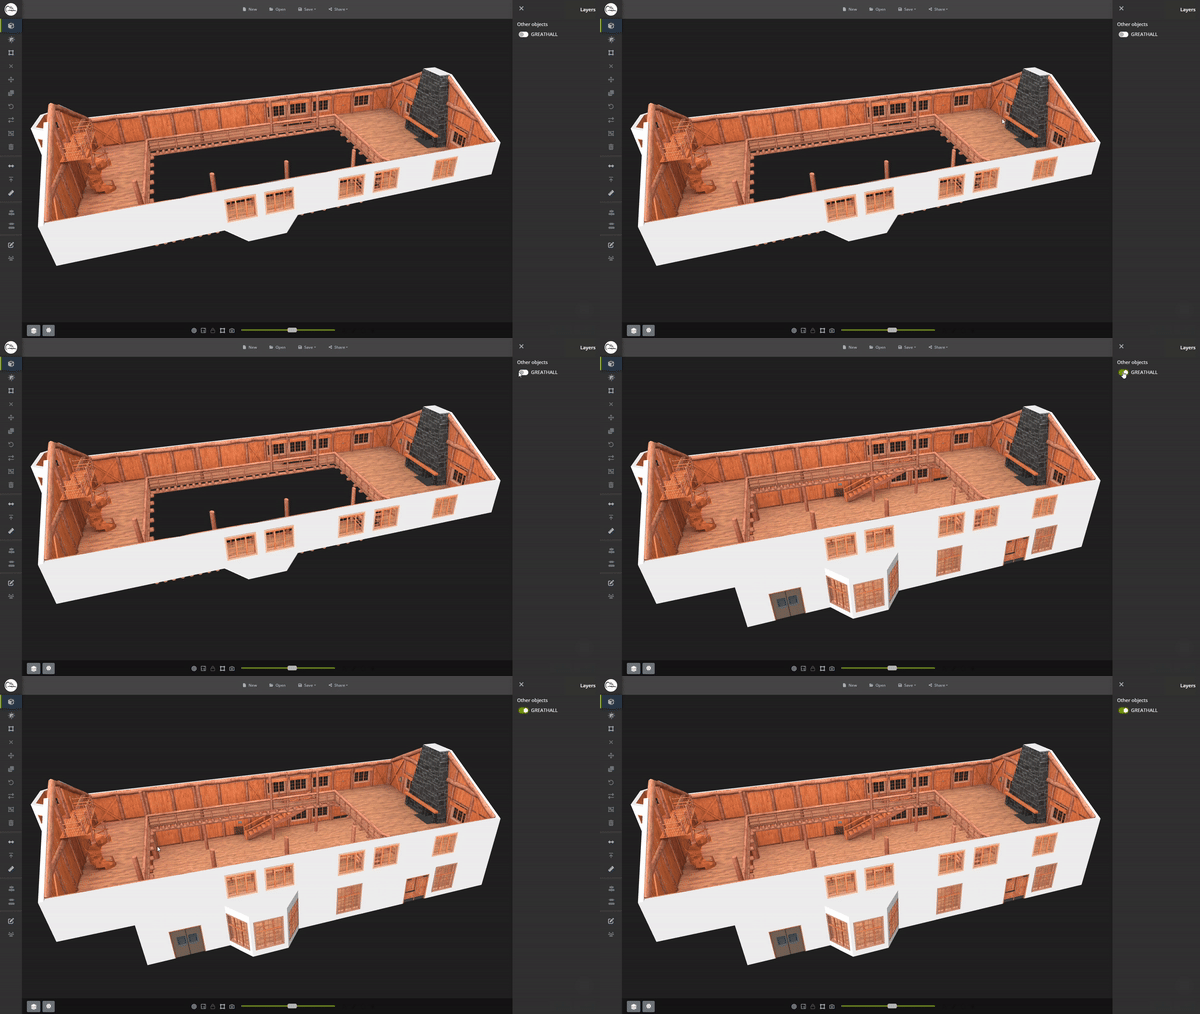
In some event spaces there can be fixed seating elements which can be removed as a block to allow different furniture to be set-up in those areas.
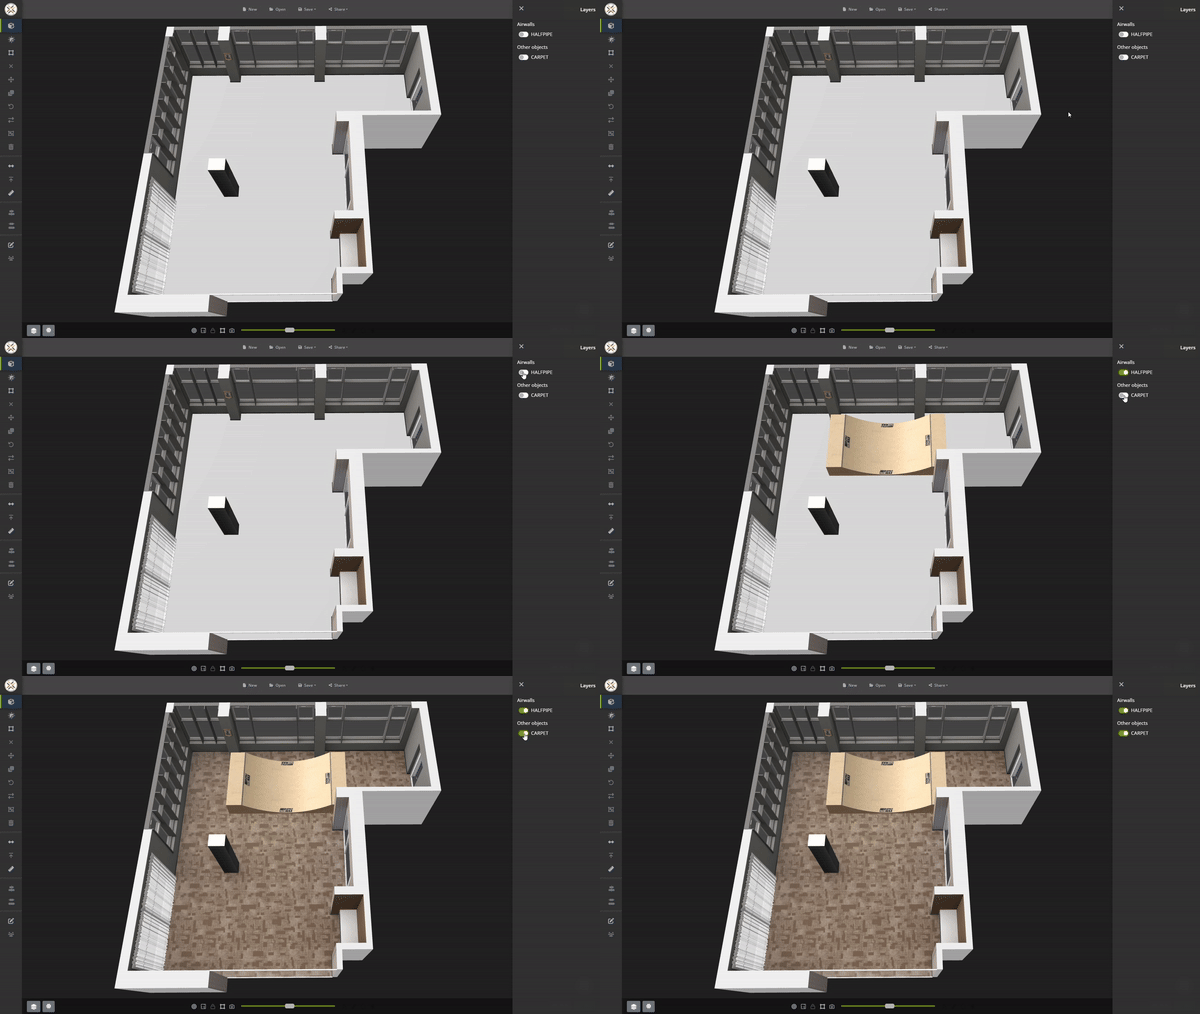
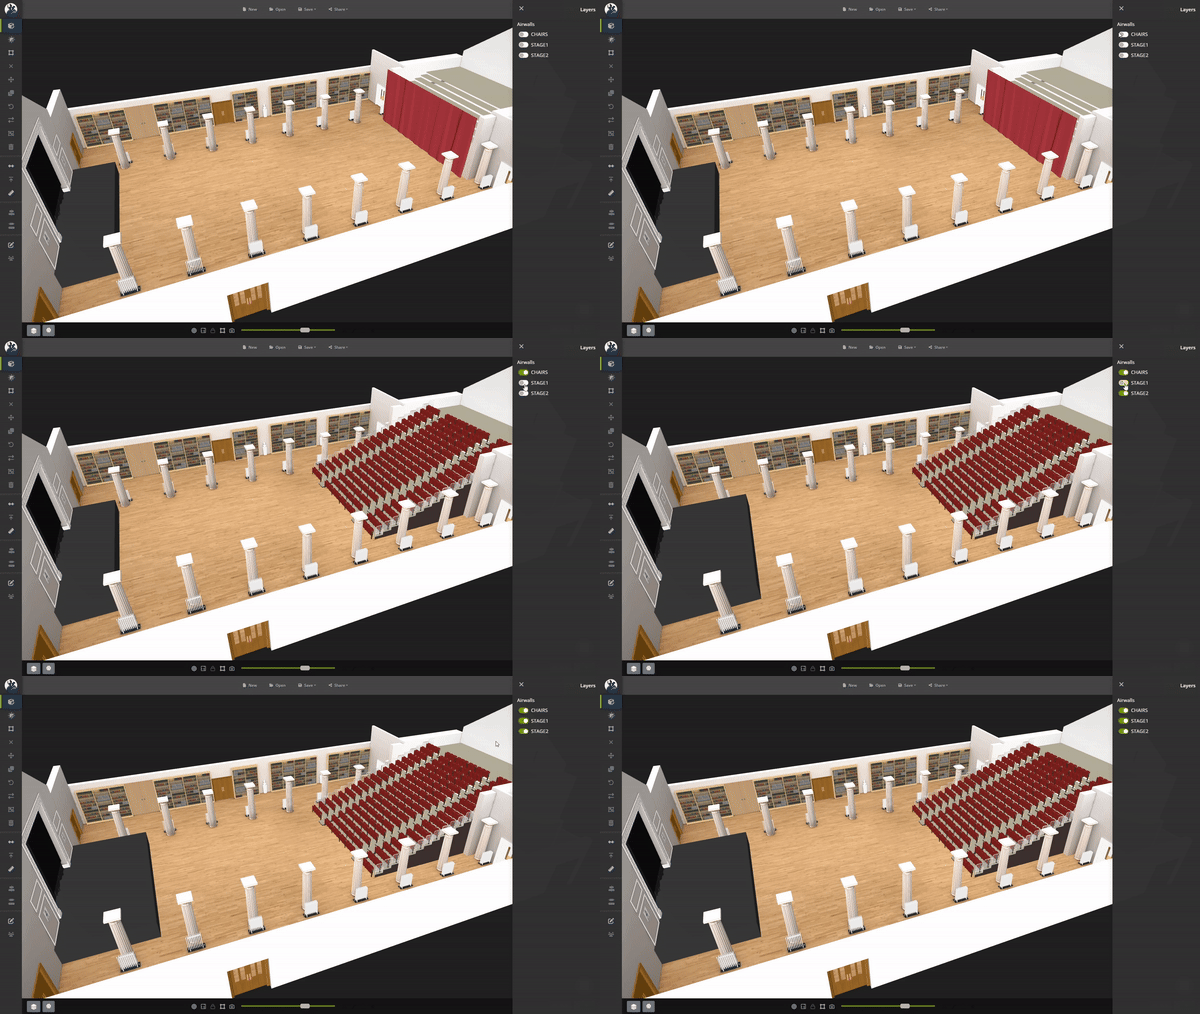
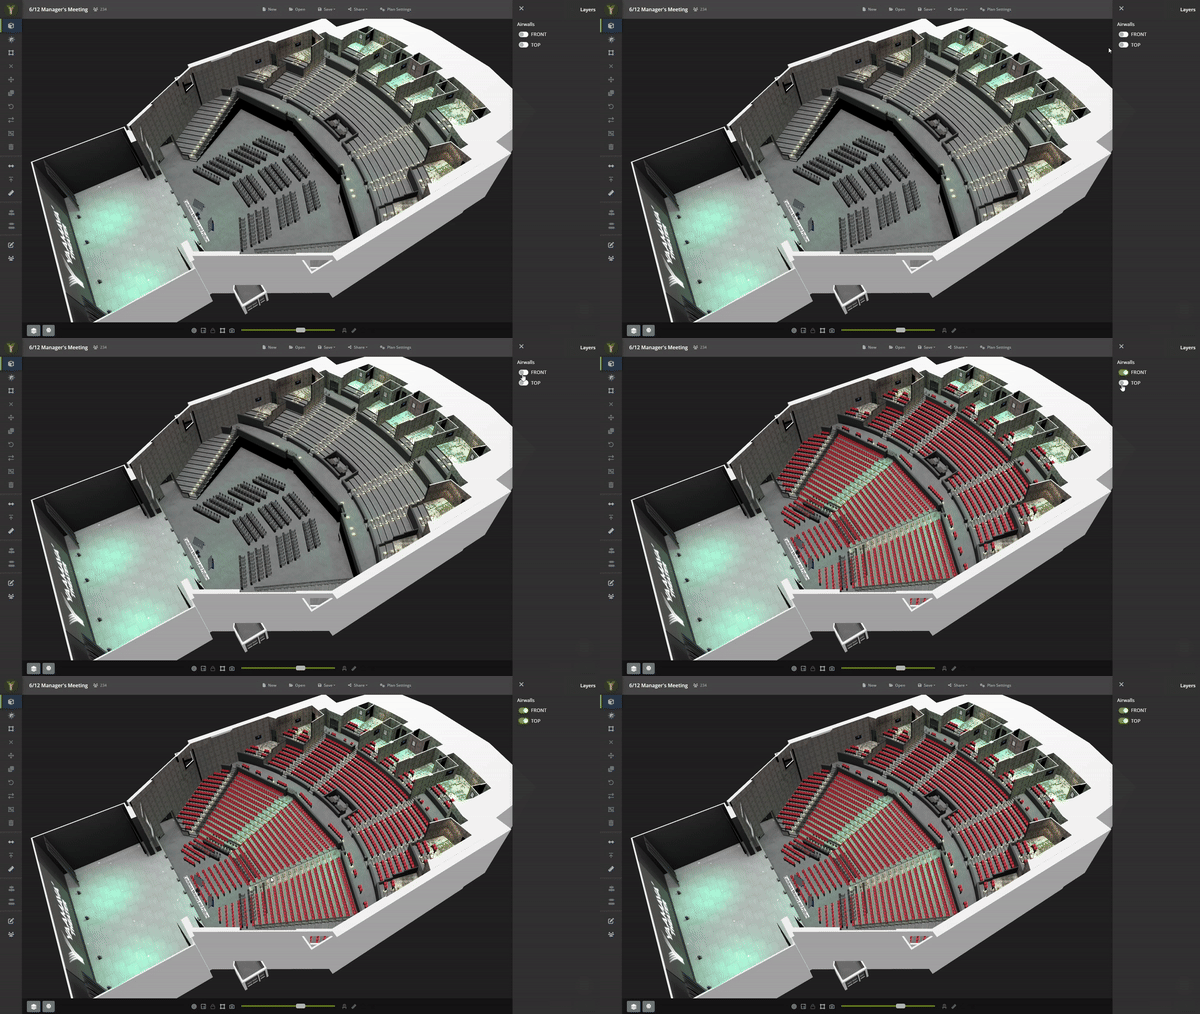
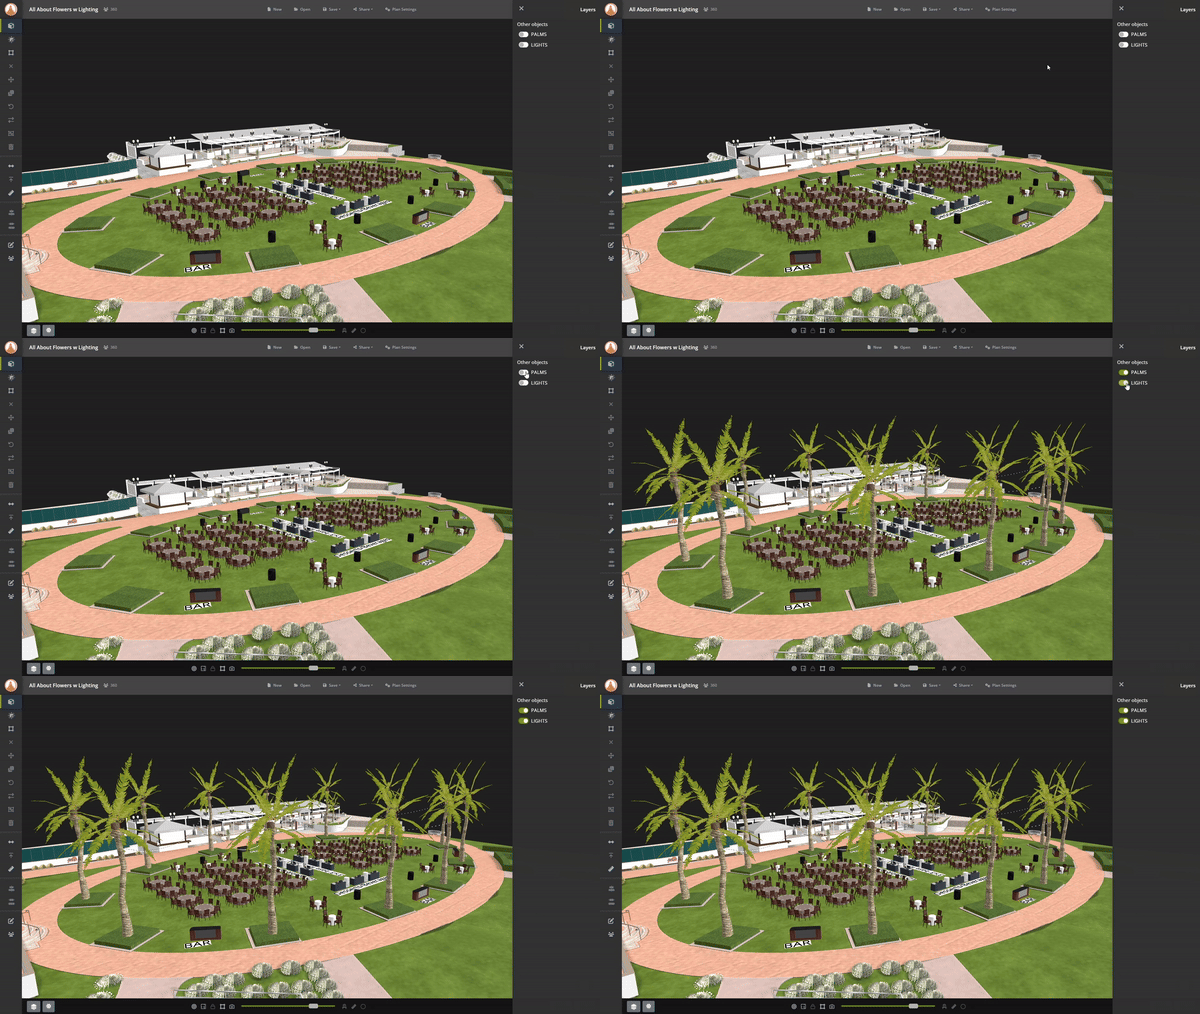
In outdoor event spaces layers can be used to switch off elements such as trees, string lights or fixed objects such as tents, gazebos or catering trucks to allow you to build the plan without the distraction.
Theme Settings
In the bottom horizontal menu there is a settings icon which does a couple of things. You can switch the builder background from black to white and adjust the level of sunlight in the plans based on the time of day. This is a great way to bring outdoor event plans to life by showing where the sun will be throughout the event.