Donal Martin, head of products at Visrez explains how the new guest list import tool allows clients to manage on the day seating plans in our Floor Plan Builder software and how this benefits our users worldwide.
Importing guest lists to event plans allows your team to confirm on the day event seating arrangements in your Visrez event plans. This update transforms your plans from great sales tools to even more effective event planning tools as your team can share detailed seating plans using Visrez models. Guest Lists can be added by either uploading a CSV file or by entering guests manually on a table-per-table basis. Importing a CSV file is a lot faster than entering the names one by one so we recommend this option.
How it works: A new guest list icon is in the main left menu at the bottom.

This tool is only activated when tables have been saved to your event plan.
Once tables have been saved, then you can click the ‘Guests’ option in the left menu to open a new sidebar. This now includes the simplified table numbering tool which used to be found under the Edit Tools but has been moved to the Guests Tab).
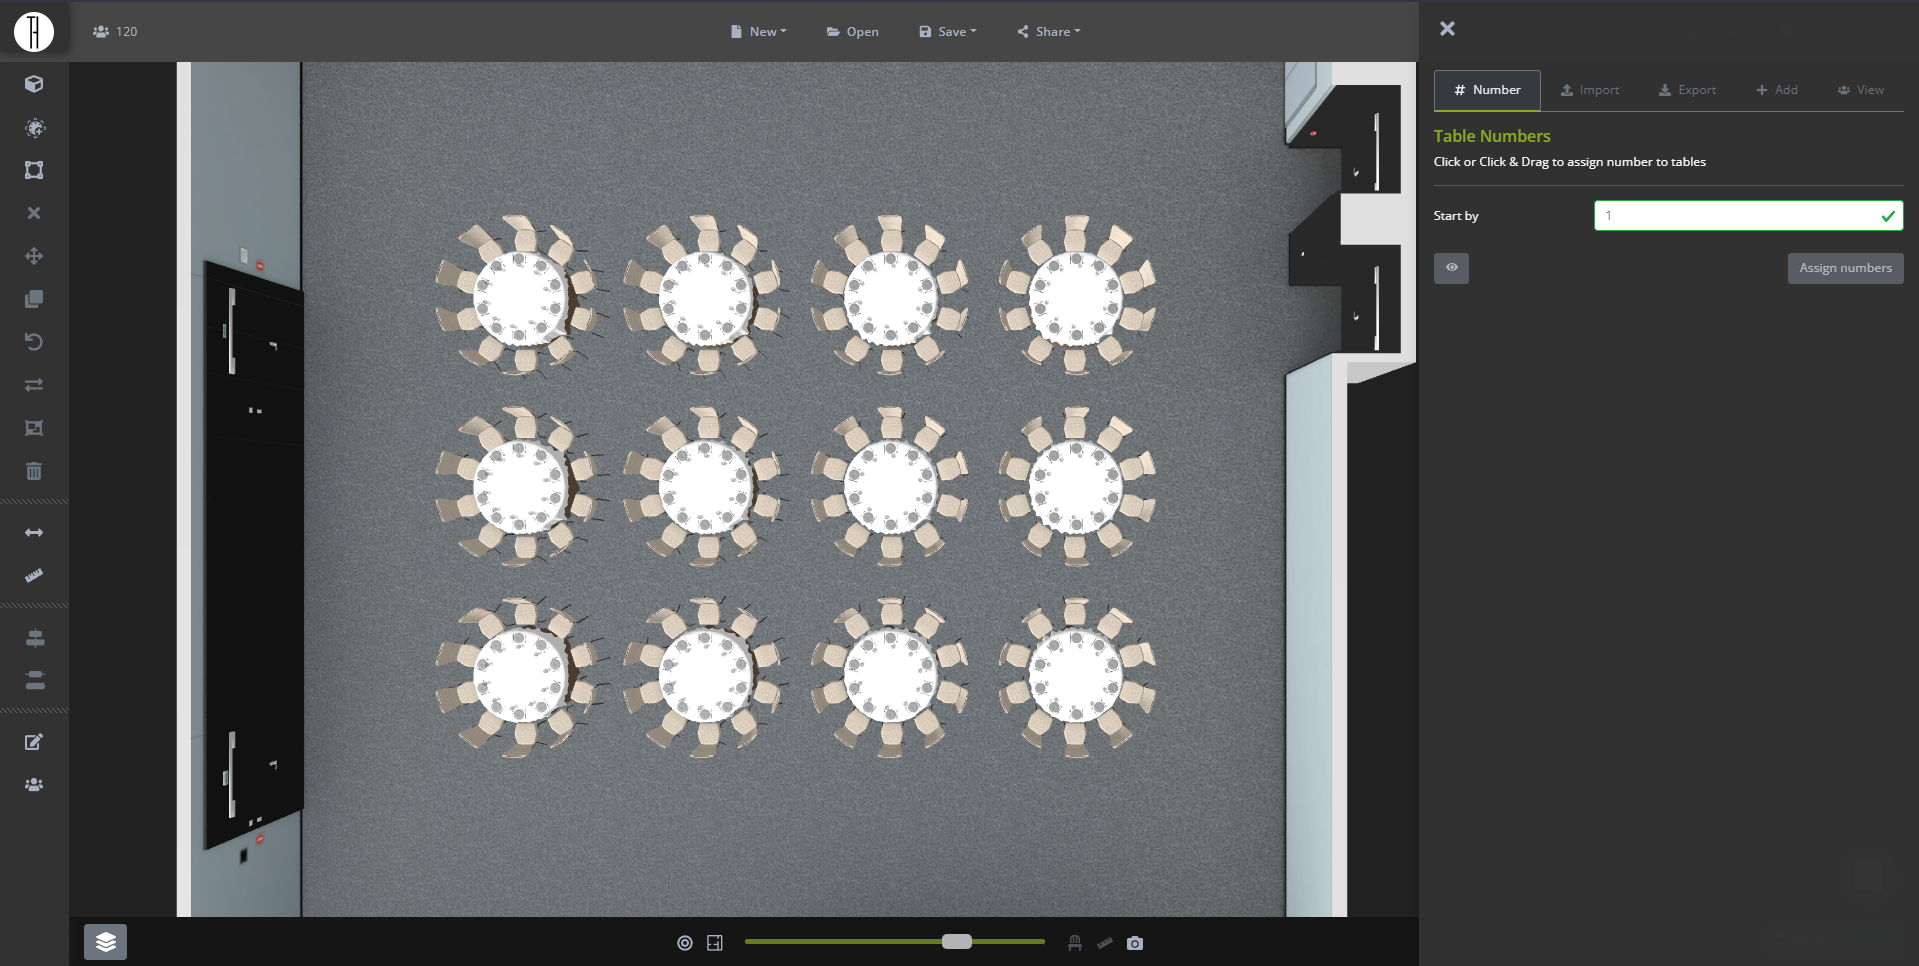
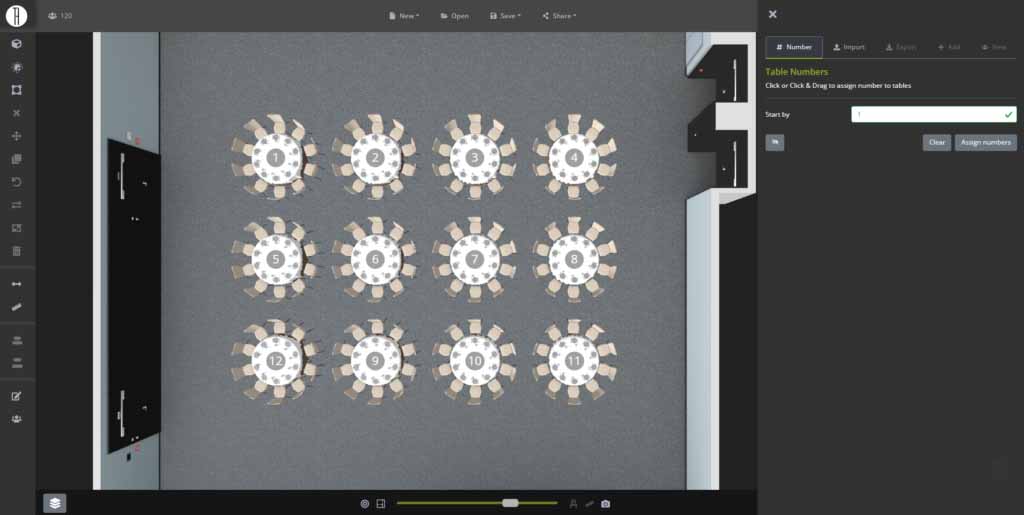
Numbering Tables
The first step is to drawn on table numbers and save them in your plan. This can be done by either clicking on the tables one at a time or by clicking the left mouse button and drawing a path over the tables. Numbers must be saved before you can upload your list so once you are happy with the order click Save in the sidebar.
Importing from CSV
The easiest way to populate a guest list is to import from a CSV file. After tables numbers have been saved you can then import a CSV file by dragging it from your computer or by clicking within the import area.
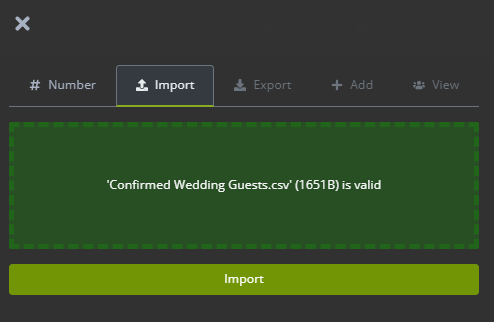
Once selected click import to upload the list.
Please Note: CSV files should be formatted as follows
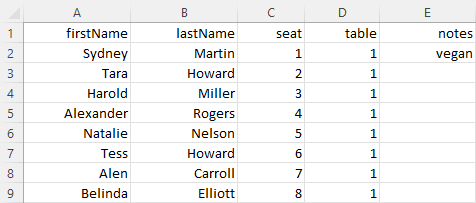
Adding or Editing Guests without Import
Guests can also be added on a per-table basis. This is done by selecting the table to add guests to and selecting the guests’ tool in the left side menu. Using the Add tool you can then manually enter guest names, table names for each table in your plan.

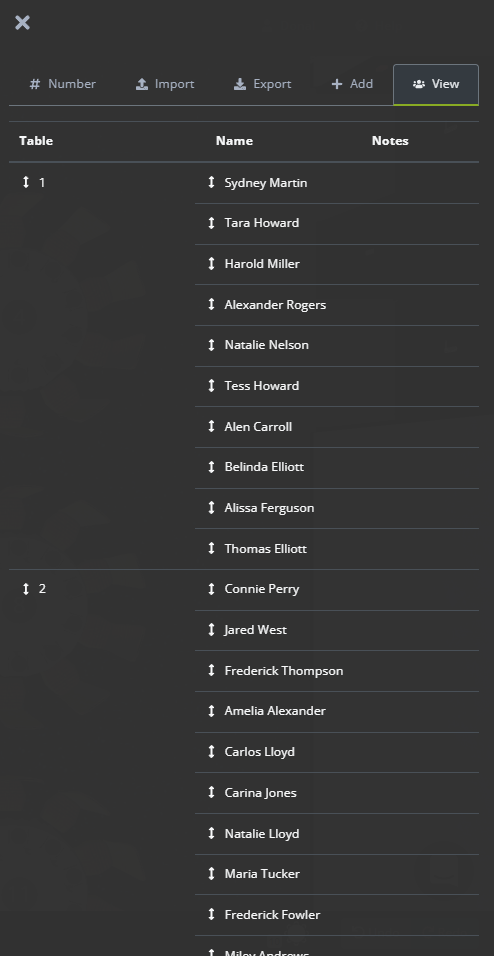
Viewing Guests
Once guests have been imported, all names in the plan are listed under the View tab.
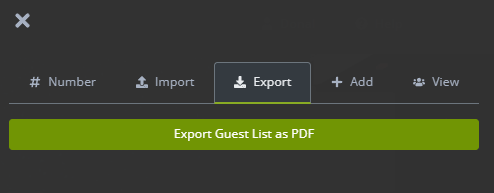
Exporting Guest Lists
Guest lists can be exported on their own using the Export tab where it can be exported as a PDF.
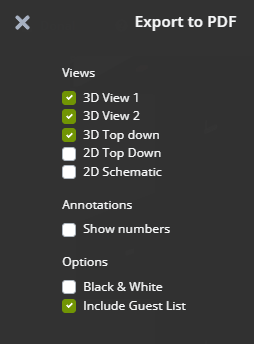
The guest list can also be included with the PDF export under the sharing options in the builder.
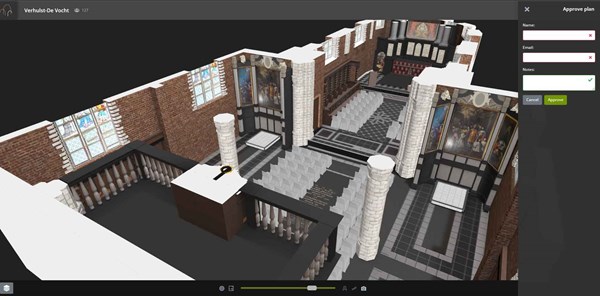
Also included in this release, clients and team members can now approve event plans both on the shared links and in team accounts. Once a plan has been approved it is marked in the account and all team are notified This is really useful to ensure that clients approve their plans and any last minute changes after approval may be subject to additional costs.
Approve Icon is top right on shared links to allow clients to confirm.
While approving client can add notes which are saved under the Plan Settings.
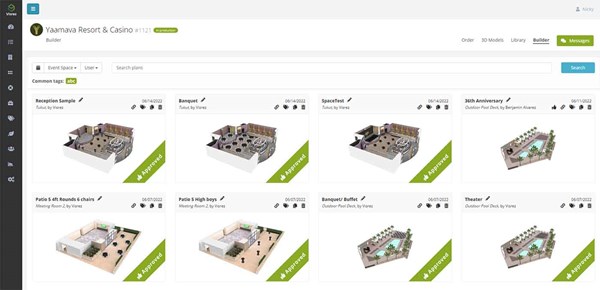
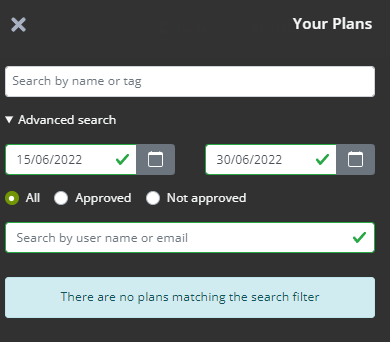
Plans Panel inside the Builder now allows users to search by Approved or Not Approved Plans.
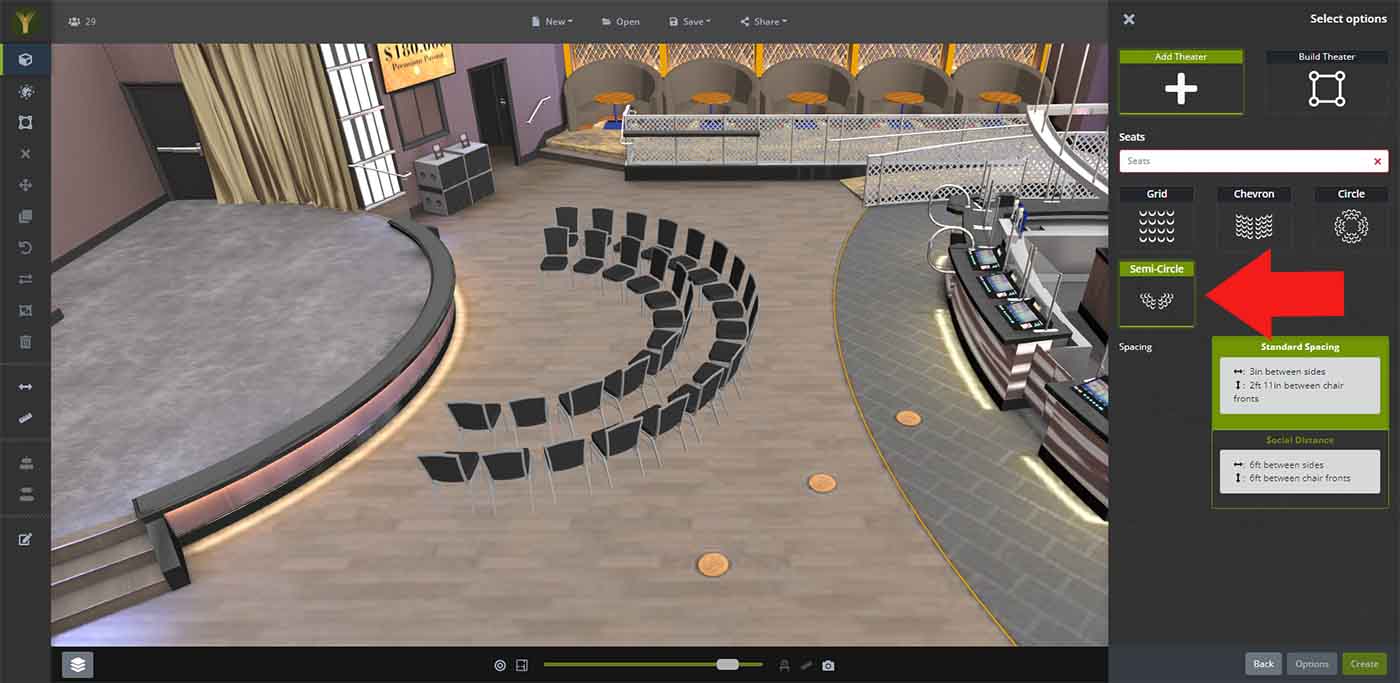
Our team has added the Semi-Circle Layout Option in the Build tools which is something we have been meaning to do for a while. Now you can easily create semi-circle layouts without having to create a full circle and delete half !