Menu

Activating Spaces on Visrez

by Nicky Morrogh Floor Plan Builder

Learn how to get your event spaces activated on Visrez.

Visrez requires a blueprint or diagram along with reference photos

Professional standard photographs are not necessary.

Reference photos can be taken with a phone.

Event spaces do not need to be set-up.

Take photos from each corner or at perimeters of outdoor spaces.

Professional Stock Photographs, Virtual Tours & Videos are helpful and can be included.

Visrez Resort Maps

by Viktoria Georgieva Interactive Maps

Visrez has created 3D maps of all shapes and sizes from tropical island paradises to remote mountain retreats and supersized desert developments. No matter the scale of the project is the objective is always the same; to capture the beauty of the resort in a map which compels the user to visit. Aerial views shot with drones are no substitute for the aesthetic quality which can be achieved with a 3D map and the feedback we get is that users love the style and detail in a rendered map. The fact these maps are created off-site from reference assets makes it easier for the on-site staff to collaborate with our team during the production stage.

Small resorts are usually a single-building resorts, surrounded by pools, outdoor amenities or a few additional smaller buildings.

Medium resorts are composed of multiple buildings and facilities. We have created many types of resort in this scale range. For each hotel we are striving to capture its specific atmosphere and to express its unique character.

The 3D resort maps allows us to show huge areas that are hard to capture with aerial drone photography. It also allows the client to omit the surrounding structures and just focus on the resort.

Here is an example of a very large resort on a mountainside with the terrain sloping downwards towards the ocean. Due to the scale of the property the camera is very far back so the resort detail appears smaller. The individual areas are also created as separated assets which can be viewed on their own on the right. We can showcase buildings and resorts from a different points of view.

These examples show a tower within a larger resort with color coding on the room types to differentiate between their respective views.

Pre-Opening Projects

by Viktoria Georgieva Interactive Maps

Visrez has generated hundreds of resort maps for clients worldwide including projects at concept stage, pre-openings or renovations and upgrades. Once a set of models exist in Visrez they can be modified at any time. This is what makes Visrez such a smart choice for hotels, resorts and convention centers because your team will always have the most up to date visual assets to generate sales.

Interactive Buildings

by Donal Martin Interactive Maps

We can recreate both buildings that are already existing, or such that are still in the design stage. The hotel could be situated in a busy city environment or an a desert island – for us the process is the same. Using reference photos taken by the client and some technical drawings, we can recreate anything without coming on site.

Having a good areal view of a hotel, situated in the middle of a huge city, had never been easier.

We can create both day and night views for the same building or only the version you prefer. Night views are a great way to showcase a urban hotel in the vibrant atmosphere of a city.

Building models could be used not only to show the exterior of a hotel but also to easily display the interior layout of entire hotel floors.

Stacked views can show your facilities, interior circulation paths and meeting spaces location in an impressive new way. The whole building could be broken into single floor plans and those could be displayed in various arrangements. As if taken out of a sci-fi movie, Stack view immediately attract the attention and can deliver a lot of useful information about the hotels in a single picture.

Reference Assets

by Viktoria Georgieva Interactive Maps


General Resort Information

Before our team can get started we need to understand the boundaries of the resort and become familiar with all buildings and amenities. A resort scheme or layout diagram is very helpful in this case. If no such file exists, then a marked up screenshot from google maps will do. In the example below from the Ritz-Carlton, Bali on the left we have the basic scheme diagram provided by the client and the completed 3D map on the right.

Technical Drawings

Any available blueprints, pdf or cad file of the resort or the resort buildings are very useful to correctly create the 3D models. Trees or other buildings often obstruct us from seeing important façade elements and thus slow down our process. Drawings ( floor plans, section or elevations) give us clear information and help us complete the resort much faster. In the below example of the Condado Vanderbilt Hotel in Puerto Rico you can see how our team created a photorealistic model using the supplied elevations.

Reference Photos

We need 3 types of photos so we can build a detailed 3D resort map.

Establishing photos – photos that give general information about the location of buildings, pools and other elements. They help us understand buildings as a whole and indicate where the detailed photos are taken from.

Details/Close-up Photos – close-up photos give information about colors, materials and specific building elements, such as entrance points, facade decorations etc. Besides close-ups of the facades, we need photos of the outdoor furniture, fountains, gazebos etc. Note that it’s important that there is an establishing photo that shows where those close-up elements are positioned in respect to each other.

  • Circulation and access points – in case there are variation of terrain, terraces or various garden levels, we need to understand how big are those variations are and how one goes from one level to the next. Therefore we need photos of the eventual ramps, stairs, elevators etc.

If available, you can also send us aerial photos, drone photos or videos.

More examples of assets we use and the results we can achieve

Video Reference Assets

by Rushi Alhaiat Video

Similar to the VR process we need approved Visuals in order to proceed with the animation.

If the video includes corridors, we need to indicate the camera path. You can simply draw over a blueprint plan,

or you can film a walk-through on your phone.

For outside areas, blueprints or floorplans and panorama photos of the area are required.

Choosing a second dim lighting option in the Ballrooms will make the video significantly more interesting.

Set-Up Styles using the Floor Plan Builder are crucial for creating an impressive Virtual Tour.

The first version of the video does not include sound or post-production. Audio and effects are added in the final version.

Event Space Reference Assets

by Rushi Alhaiat Virtual Reality

Visrez products are created from reference photos taken by staff with a phone.

Professional standard photographs are not necessary.

Event spaces do not need to be set-up or cleared.

Make sure to upload the original shots rather than reducing them.

We recommend to take photos from every corner or if it is an outdoor space please take from the boundaries.

You can also include professional shots or Virtual Tours or Videos if those assets are available.

Video Guides

How to take event space reference shots

Carpet Reference Shots

Wall Reference Shots

Outdoor View Reference Shots

Alongside reference photos we require a blueprint or diagram so that our team can produce a correctly scaled model of the event space. It is really important that the model is built to scale so that your builder diagrams are accurate and capacities match.

Renovations

by Nicky

Room renovations are covered under the annual license and support for each order. This means the 3D Floor Plan models can be updated to match new interiors at no additional cost. Renovations include soft furnishing and furniture changes within the space and once an renovation model has been requested you can upload new reference shots for the space to your account. Our team will review the assets and if they are sufficient to proceed then the model status will change to In-Production.

What if the footprint of the space has changed ?

If the spaces have fundamentally changed and a new model is required then this is not classified as a renovation and a new model will need to be ordered. This type of request is not covered under the support plan and the model will be charged at the standard rate for that room type. In summary renovations are for interior design elements only and do not cover scenarios where the structure under goes a significant update where we would need to update the model.

What’s the turnaround on renovations ?

Once new assets have been uploaded renovations are turned around within the standard 5 working day period. Notification previews are issued in the same way as with new models. Revision requests can be submitted through the platform and will be processed in line with our standard procedure.

Partnering with Visrez

Visrez products do not require on-site visits, room set-ups or professional photoshoots as they are created from reference photos taken by clients. Partnering with Visrez means giving your team the sales tools to succeed and future-proofing your digital assets for the long term. This is why over one thousand hotels, resorts and convention centers Worldwide are on the Visrez platform.

Rotatable Buildings

by Donal Martin Interactive Maps

Rotatable models are a great way to present a venue in an interactive and engaging format allowing the user to rotate the building before exploring inside the spaces. This process involves the production of a 3D model of the building and then Visrez generates up to 100 individual views which are delivered in an interactive application allowing for a smooth rotation.

If a venue opens onto multiple streets and your team needs to communicate this to a planner it can be difficult to visualize using static models. This is why Visrez created a rotatable format to allow users to spin the building in 360 degrees before exploring inside. This product enables the user to understand all the access points into the spaces and where any outdoor venues connect to the building.

Interior floors can be displayed in a stacked format or individually to allow the user select a floor to venture inside an event space. If VR has been produced for that space the user is transported directly inside the space as if they are standing in the middle of the event.

Taking the user right inside the spaces to demonstrate all the set up styles for that space including the social distanced options.

All the individual assets are available in Visrez for each space including a full inventory of the client furniture which can be utilized in the Floor Plan Builder event plans for each space. One of the advantages of having your spaces ‘Visrez’d’ is that all the assets are stored in your account and can be accessed by the sales, catering or events team at all times.

Website Integration

by Donal Martin Interactive Maps

Once the interactive plans have been created the application can be added to your website using one line of code. This is found under the interactive tab in the menu and you click on get embed code to copy the code. Copying the embed code into the source of your page will display the interactive app in your site.

Once the code is installed in your website the interactive plans will be displayed and any future updates to the plans will update automatically. Here is an example of an interactive application embedded in a page.

VR Production Process

by Rushi Alhaiat Virtual Reality

Visrez products do not require on-site visits, room set-ups or professional photoshoots. They are created from reference photos taken by clients and uploaded to their accounts. The Visrez platform has been designed to simplify the process of creating photorealistic VR off-site by breaking it into a number of steps. It is important that we are provided with good quality reference assets and any revisions submitted are easy to understand.

First we produce a 3D Model with multiple views of the empty event space. This is uploaded with the ceiling to allow the client team to focus on the flooring, carpets, entry and exit points and windows. These models can be magnified using the zoom tool or downloaded and marked up with changes. Revisions should be marked using with Pin Tool and once revisions have been submitted these can take up to 7 days for our team to turnaround.

Once the space is correct you click on the Approve button to mark the plan as approved. Then you move onto selecting the furniture and objects for each set-up style which can be done in the Visrez library or using the select set ups button in your account.

Once the Objects have been approved we create layouts based on the capacities selected.

After the floor plans have been approved we create visuals from inside the space.

When all visuals have been approved we then incorporate all the elements into the VR app. Once the VR app has been built clients will receive an email notification which includes a link to the Space along with the code to add the VR to your website or mobile device.

How long this process takes depends on how quickly clients approve each step. The Visrez platform allows up to 7 days for clients to submit or approve revisions once drafts are uploaded. If clients approve models quickly Visrez can have the process completed within three weeks. Highly detailed spaces with more complex interiors can require a slightly longer production time.

Outdoor Spaces

by Rushi Alhaiat Virtual Reality

Anyone who has ever worked in events knows the work involved to prepare and stage an outdoor venue for event. Doing all this setup work for a photo-shoot is rarely undertaken due to staffing and photography costs associated. Virtual Reality is a superb way to give customers a site visit and can work really well for outdoor spaces. Visrez solves the problem of creating visual assets on site makes it possible to create event visuals without moving any furniture. This is why Visrez 3D Visualisation is such a superb solution for hotels, resorts, venues and convention centers because the assets are produced digitally with no set-ups or photo-shoots required.

Assets for Outdoor VR

With indoor spaces such as ballrooms our team can control what the viewer can see to a certain extent. The key difference between indoor and outdoor VR is that outdoors the entire panorama needs to be created in 3D. Unlike with an exterior view from a window we need to create the entire view which can be quite challenging. As you can see in these examples this can involve buildings, beaches, lawns and more so we require plenty of reference shots of the outdoor spaces.

External Views – Day

To add outside views for indoor spaces we require reference assets for that view which are then composited into the 3D model and then optimized during post-production. The results are stunning and impossible to tell the difference between what is real and what is computer generated in the scene. Adding external views to the VR brings makes the experience even more realistic and truly brings the venue to life. As you can see in the example below everything from the terrace back is a 3D model but the view of the city of Rome is from actual panorama shots taken by the hotel team.

External Views – Night

Allowing the user to switch between day & night views is another superb feature of the VR tool because it give the client the ability to demonstrate multiple event settings. A daytime conference event can be switched out for an evening banquet to simulate how a full day program can be staged at the venue. In the below example the client has provided both day & night exterior views from their ballroom.

Partnering with Visrez

Partnering with Visrez means giving your team the sales tools to succeed and future-proofing your digital assets for the long term. Visrez does not require on-site visits, room set-ups or professional photoshoots as our products are created from reference photos taken by clients. This is why over one thousand hotels, resorts and convention centers Worldwide are on the Visrez platform.

Set-Ups & Capacities

by Rushi Alhaiat Virtual Reality

Virtual Reality is a vital tool to help hotels and event venues communicate their spaces to event planners. These tools allow clients to present any event space in multiple capacities and set-up options. Generally we allow up to three capacities per style in each space to ensure it loads quickly in the page although more can be added if necessary. Capacities can also include showing the same set-up in a socially distanced style allowing the viewer to switch between a standard and socially distanced set. Planners now need to demonstrate to their clients that sufficient social distancing measures being adopted for all future events.

How to Select Multiple Capacities

Capacities are selected in the Set-Up Styles option during production so you can choose multiple capacities and then enter in the PAX for each style option. These are then created in layout format and once approved then you receive the interior Visual for that style.

Partnering with Visrez

Partnering with Visrez is a smart decision for hotels, convention centers and venues Worldwide because you are future proofing your digital sales assets for the long term. Visrez does not require on-site visits or professional photoshoots. Our products are based on reference photos taken by clients and can be updated at any time.

Lighting Options

by Rushi Alhaiat Virtual Reality

Lighting Effects in VR

The lighting option in the VR viewer allows the users to switch between two light settings and is a brilliant way to demonstrate the ambient atmosphere in an event space. This really engages the viewer and puts them inside the space virtually allowing them to visualize an event with various lighting options.

Lighting Changes with each Style

Another great technique is to add a different lighting effect to each set-up style so as the user changes style the background lighting changes. This is a more subtle effect but none the less creates a very realistic sense of the space across multiple set-up styles.

Assets for Lighting Options

To recreate the exact lighting effect we require some reference shots of the space showing the lighting color required. Once assets are uploaded our team will produce guide visuals for client approval before the VR is rendered. Many clients use our static visuals in their websites alongside event photographs because the quality is so high it is difficult to tell they are renders.

Partnering with Visrez

Visrez products do not require on-site visits, room set-ups or professional photoshoots as they are created from reference photos taken by clients. Partnering with Visrez means giving your team the sales tools to succeed and future-proofing your digital assets for the long term. This is why over one thousand hotels, resorts and convention centers Worldwide are on the Visrez platform.

Adding VR to a Site

by Donal Martin Virtual Reality

Virtual Reality spaces can be added to a website using a single line of code from your Visrez account.

Each space contains a unique embed code which needs to be copied and pasted into your page.

Once added to the page the Virtual Reality will allow the user to change set-up styles, capacities and lighting in the space.

It is recommended for mobile viewing to load the VR in a modal window so that it loads in a new window.

Virtual Reality on Mobiles

by Donal Martin Virtual Reality

A Branded Icon can be added to the home screen of your phone or iPad to allow you to demonstrate the space when with a client. Imagine you standing in the empty ballroom with a client and you can show them exactly how their event will look on your phone. You just turn the phone and the space move using the gyroscope on the device. It is a super cool sales tool for conference and events.

Step 1. Open the VR on your phone.

Step 2. Open the browser settings menu and select “Add to Home Screen”

Step 3. Leave the default name and select Add

Step 4. Opening the WebVR app now displays it full screen

Partnering with Visrez

Visrez products do not require on-site visits, room set-ups or professional photoshoots as they are created from reference photos taken by clients. Partnering with Visrez means giving your team the sales tools to succeed and future-proofing your digital assets for the long term. This is why over one thousand hotels, resorts and convention centers Worldwide are on the Visrez platform.

Virtual Reality Hardware

by Nicky Virtual Reality

Virtual reality is a superb way of demonstrating your event spaces at trade-shows, exhibitions and in person events. Visrez can provide your team with the hardware so that your sales team can take the spaces with them and place planners and clients directly inside the event spaces. Visrez is an accredited Oculus Developer allowing us to distribute our products remotely via the Oculus Store. We ship the VR hardware with the App installed and can make updates remotely at any time via the Oculus store. For in person events you can pair the VR hardware to a large screen allowing other users to watch as the user experiences your spaces in VR. This is an excellent way of generating interest at a tradeshow or in-person event allowing others to watch the VR in real time.

Immersive Experiences

These are video recordings from inside the the VR glasses of a user interacting with the spaces. Ambient sound is optional.

Partnering with Visrez

Working with Visrez means giving your sales team the tools they need to succeed and future-proofing your digital assets for the long term. This is the reason why over one thousand hotels, resorts and convention centers Worldwide are now on the Visrez platform.

Event Space Renovations

by Rushi Alhaiat Virtual Reality

One of the aspects clients love about Visrez is that because our products are created digitally they can be updated to match any future renovations. This means that if new chairs or carpets are ordered for the ballroom your Visrez tools can be modified even before the furniture arrives on site. This is why partnering with Visrez means future-proofing your digital assets for the long term. Once a set of Visrez models exists there is no need to budget for a new photoshoot. You can update the models to match the new interior design (or furniture) and apply this to the Virtual Reality or Floor Plan Builder.

Hilton Vienna – Renovation
The New York Hilton Midtown – New Chairs
The Four Seasons, Washington DC – Renovation
The Waldorf Astoria, Orlando – Renovation
The Hilton Orlando Bonnet Creek – Renovation
The Ritz-Carlton, Georgetown – New Carpet

Partnering with Visrez

Renovations big or small are covered under the annual license which means that once the VR has been produced any future update is covered without charge. This is why partnering with Visrez is a smart decision for hotels, convention centers and venues Worldwide because they are futureproofing their digital sales assets for the long term. In addition the fact that these assets are generated without having to prepare the spaces or schedule a photo-shoot or even have a team come on site is what sets Visrez apart.

Reference Assets

by Rushi Alhaiat 3D Floor Plans

Visrez has generated 3D Floor Plans of thousands of guest rooms and suites worldwide in over ninety countries.

To create photo-realistic 3D plans we require two things, reference shots and a diagram of the room or suite.

Reference photos do not need to be professional quality and can be taken by a staff member with a phone.

Rooms do not need to be set up or styled just shoot them as they are.

Visrez requires shots of all areas in order to accurately recreate the spaces.

This video explains how to take high quality room reference shots.

Along with reference photos we require a blueprint or diagram of the space.

If no diagram exists you can sketch out the space.

Here is an example of a client sketch and the completed 3D Floor Plan.

Once the assets are good, the models go into production and drafts will be ready within 7 working days.

Revisions & Renovations

by Rushi Alhaiat 3D Floor Plans

As mentioned in the reference asset guide you will receive a draft set of 3D Floor Plans within 3/4 working days from the date the reference assets are reviewed by our team and the model status changes to In-Production. Once you get the email notification you can review the plans in your account. If everything has been recreated exactly in the first round then you can approve the models and they are ready for download or can be added to your site. If revisions are required then you can use the revisoins tools to communicate exactly what needs to be revised.

Visrez does not process revision requests submitted by email and reply-to emails from the system are not picked up by the team. To complete your plans in a timely fashion is recommended to use the revision tools built into your account as these have been purpose built by our team and have helped us to produce thousands of models Worldwide.

Using the Revisions Tool

The Pin Tool is built into the Visrez platform and allows you to add comments onto any specific item within a plan. Moving your mouse over the plan activates the magnifying tool and clicking then activates a text box which marks the item with a pin. This video shows how to use the Pin tool to mark revision requests directly onto any object with the 3D Floor Plan.

Uploading Additional Assets

Often during the production additional assets are required for clarification. These can be small items that perhaps were missed in the first drafts or features which no reference photos were supplied. You can upload additional reference photos on the right side of the model screen along with detailed comments which allows for more characters than the pin tool.

Additional reference shots can be uploaded on the side of each view which speeds up the turnaround on revisions as can tell exactly what is required. It is advisable to use the side panel for uploading any additional reference shots specific to that plan. Please note you can upload these to any view and only need to do this once.

How Many Rounds Are Permitted ?

The answer to this question is that our team will replicate the guestrooms and suites with 100% accuracy once sufficient reference assets have been provide. Larger and more complex suites can require a few rounds of revisions due to the number of objects and details features but we will get these completed within a few rounds of revisions.

Automatic Approvals

The Visrez platform allows seven days for comments to be added onto models before the plans are automatically approved by the system. This setting can be switched off on request if your team needs more time to review the models. As per our terms & conditions invoicing will need to be settled within the agreed timeframe regardless of whether the models have been completed or approved.

Renovations

Room renovations are covered under the annual license and support for each order. This means the 3D Floor Plan models can be updated to match new interiors at no additional cost. Renovations include soft furnishing and furniture changes within the space and once an renovation model has been requested you can upload new reference shots for the space to your account. Our team will review the assets and if they are sufficient to proceed then the model status will change to In-Production.

What if the footprint of the space has changed ?

If the spaces have fundamentally changed and a new model is required then this is not classified as a renovation and a new model will need to be ordered. This type of request is not covered under the support plan and the model will be charged at the standard rate for that room type. In summary renovations are for interior design elements only and do not cover scenarios where the structure under goes a significant update where we would need to update the model.

What’s the turnaround on renovations ?

Once new assets have been uploaded renovations are turned around within the standard 5 working day period. Notification previews are issued in the same way as with new models. Revision requests can be submitted through the platform and will be processed in line with our standard procedure.

3D Floor Plans in your Website

by Donal Martin 3D Floor Plans

3D Floor Plans can be downloaded in high-res formats or added directly into your site with the magnifier tool using the embed code option. A larger number of Visrez clients display their spaces using the embed code option as no image resizing or uploading is required and can display all views in a custom built 3D Floor Plan viewer just by adding the code to your page.

Every room model type in Visrez has an Embed Code page which can be found by clicking on the Share button on any view. This allows you to customize the viewer to your specifications and generate the code for your website. If the room or event space is updated or renovated the embed code page will automatically pull the most recent version of the plan.

Visrez 3D Floor Plan viewers are built with responsive design and will expand to match the available space of the user’s browser.

All plans can be opened full screen from within the viewer.

For best user experience it is recommended to load plans in a modal window when adding so they open outside of the main body.

By using the embed tools in Visrez it also allows us to provide detailed tracking on the usage including session time, countries and referral sources.  This information can be accessed at all times in Visrez and in email reports which can be scheduled weekly or monthly.

Embed code functionality is available for all Guest Room, Event Space and Resort Map models so once your plans have been created you can quickly create a customized viewer to drop into your site without needing to involve your web design agency in the process.

Resort Views

by Donal Martin

Why Partnering with Visrez is a Smart Decision

Visrez products do not require on-site visits, room set-ups or professional photoshoots as they are created from reference photos taken by clients. Partnering with Visrez means giving your team the sales tools to succeed and future-proofing your digital assets for the long term. This is why over one thousand hotels, resorts and convention centers Worldwide are on the Visrez platform.

Large Properties

by Donal Martin

3D Floor Plans of Large Luxury Villas

Why Partnering with Visrez is a Smart Decision

Visrez products do not require on-site visits, room set-ups or professional photoshoots as they are created from reference photos taken by clients. Partnering with Visrez means giving your team the sales tools to succeed and future-proofing your digital assets for the long term. This is why over one thousand hotels, resorts and convention centers Worldwide are on the Visrez platform.

Inside Your Account

by Nicky Morrogh Floor Plan Builder

A guide to your team’s Visrez account and how permissions work.

On the dashboard you will see a chronological history of all the activity in your Visrez account.

The plans box displays a breakdown of the plans per event space.


Each space is color coded and the top bar displays the total number of plans created across all spaces.

Clicking on the event space brings you to the builder page for that space.

On the plans page have a number of controls available before you open an event plan in the builder.

You can create a copy of any other users’ plan by clicking on the duplicate button below the event date.

Users can copy plans created by other team members and can rename or delete only their own plans.

The Admin Contact on each Visrez account can delete or rename plans which have been created by all other users.

Managing Team Members

Team Admins can manage all users in the account.
Only admin contacts on each account can delete user from Visrez.
Visrez accounts can have more than one admin user on the account.

To add a new user to your account just enter their email address and they will receive an email signup immediately.

Users can update their profile in the top right hand corner of their account by clicking on the Profile icon.

Production

These are the static event space models which are created during the account set-up.
These can be re-activated if renovations are required or if new event spaces are ordered.
Once the spaces have been approved the static models remain in your account.
Static 3D Models can be downloaded or displayed in your website using the embed code tools.

Static 3D Models are available for download in multiple formats and resolutions.

These can be added to your website using the embed code option.

Here you can generate unique codes for each space to add the plans to your site and track once live.

The Visrez Library

by Nicky Morrogh Floor Plan Builder

How to create a collection of furniture from the Visrez library.

The Visrez Library is built into every user account and shared with all team members .

Any object from the Visrez library can be used in a client plan.

Objects added to the client collection are available to all team members.

New objects are added weekly by our team.

Video Tutorials

by Nicky Morrogh Floor Plan Builder

Getting Started

Selecting & Deleting Objects

Drag and Drop Objects

Selecting & Duplicating Objects

Rotating Objects

Replacing Objects

Spacing Tools

Airwall and Layered Object Controls

Align, Align & Distribute Objects

Measuring Distances

Group and Ungroup Objects

Copy/Paste Set-Ups from Between Spaces

How to Build Rounds

How to Build Theater Style Set-Up

How to Build Classroom Style Set-Up

How to Build Cabaret Style Set-Up

How to Build Wedding Style Set-Up

How to Build Dancefloor

How to Build Stages and Platforms

How to Build Reception Style

How to Build U-Shape Set-Up

How to Build Hollow Set-Up

How to Build Boardroom Set-Up

How to Build Circle, Semi-Circle & T Shape Set-Ups

How to Build Casino Style Set-Up

Camera Controls

by Nicky Morrogh Floor Plan Builder

We recommend using a mouse rather than a mouse pad.

Zoom In and Out using the scroll wheel on your mouse or the slider.

Holding the right mouse button allows you to pan the camera in any direction.

This can also be done with CTRL + Left Mouse Button.

You can position the model at a good angle to add objects.

Moving the model and the camera position is key to working in the builder.

Set your preference for a black or white background using the lightbulb icon.

The daylight option brings natural light in to the spaces.

Menu Controls

by Nicky Morrogh Floor Plan Builder

Menu Legend:

After the first set of controls we have the Spacing Tools Menu:

The next section contains the Alignment Tools

The Bottom Menu contains a number of key tools:

To perform any action in you need to first select the object using the select tool.

Objects can be selected with the Select Tool (Shortcut = S) , or CTRL + A (Select All) or by double clicking on the object.

To select multiple objects you can hold the CTRL Key & Double Click.

All selected objects are highlighted yellow and an icon summary is displayed in the lower right corner of your builder.

To free rotate the selected objects press the Rotate Tool (Shortcut = R) and drag in a circular motion anywhere in the Floor Plan Builder, to rotate by 22.5 degrees hold the Alt key, to free rotate multiple objects around their center hold Shift and for 22.5 degrees Alt+Shift.

A list of shortcut keys is in the Help section in the top right corner of your builder.

In the bottom left corner of the menu the layers tool controls optional elements within an event space. Clicking on the layers tool opens up the right side panel which contains a list of the elements within your space which can be turned on-off using the layers control.

Airwalls

Each airwall in the space can be represented by a number or letter which allows users to open or close the wall fully. Clicking the on-off button either opens or closes the airwall. These can either be fully open or fully closed, they cannot be partially opened so to partially divide a space it is best to take a room dividing object from the Visrez library.

Carpet & Flooring

The carpets and flooring elements in a space can also be deactivated using the layers tool as quite often the design pattern on carpets can be quite busy and make it difficult to view the furniture in the plan. As you can see in this example the chivari chairs are hard to make out as they blend with the pattern of the carpet.

Using the layers tool to switch off the carpet in this view makes it easier to understand the set up in the plan as the grey background provides a higher contrast against the white objects used in the 3D event diagram.

Fixed Seating Layers

In some event spaces there can be fixed seating elements which can be removed as a block to allow different furniture to be set-up in those areas. This functionality can be replicated using the airwall control to allow users to remove all the seating blocks with one click.

Layers in Outdoor Spaces

In outdoor event spaces layers can be used to switch off elements such as trees, string lights or fixed objects such as tents, gazebos or catering trucks to allow you to build the plan without the distraction of these elements in your view. Then when you have completed the set-up you can switch these elements back on using the layer controls.

Trees although are not moveable objects in real life if you don’t want these to feature in the exports you can switch them off using the layer control. If a tent structure is always positioned in the same area then you can have this as a layer in your plan and just turn it on when you want to show the tent.

If a tent is always positioned in the same area then you can have this as a layer in your plan and just turn it on when you want to show the tent. This allows you to focus on the furniture by switching off the text using the layers tool.

In this event plan you can see the palm trees are quite dense and obscure some of the event space so by switching them off in the layers tool you get a much clearer view of the available space for the set up.

In this event plan you can see the palm trees are quite dense and obscure some of the event space so by switching them off in the layers tool you get a much clearer view of the available space for the set up.

Please note as we release new versions some menu items may move or change position.

Menu Hotkeys

by Nicky Morrogh

Floor Plan Builder is different to other diagramming software because the user is able create diagrams in a 3D environment rather than creating plans using a 2D editor and previewing in 3D. This is what sets the builder apart from other diagramming software your team may have used because you are working in 3D. This may be slower at the start to learn a new set of controls but once you have mastered the tools you will be able to generate amazingly realistic diagrams quickly.

A list of shortcut keys is in the Help section in the top right corner of your screen.

The standard Windows or Apple shortcuts such as CTRL+C, CTRL &V are enabled along with a list of hotkeys which load specific menu functions. The builder shortcut keys allow you to switch between actions without having to click on the main menu on the left.

Using the shortcut keys will speed up your diagramming considerably and we recommend learning the shortcut keys right away. In this example below you can see the first two rows of chairs are selected so if the user wants to move, copy, rotate or space then you need to activate that action in the builder. Using a keyboard shortcut allows you to switch between actions without having click in / out of the menu options with your mouse.

Creating 3D Event Plans

by Nicky Morrogh Floor Plan Builder

You can draw or use the set-up tool to create the event plan. Click on the New button in the top bar, select a capacity and a style, then choose the object and click Create and the builder will add the exact capacity to the plan.

To draw a plan click the Objects (shortcut = A) in the left menu and follow the instructions.

Once you select the chair then just drag your mouse to add the capacity you need. It’s that easy!

This works in any styles using allowing you to create photorealistic 3D Event Plans.

Circle style allows you to create a circular set up and you can remove 50% for a semi-circle.

Objects can be grouped or ungrouped using the Group Option (shortcut = G)

When selected the group can be moved, rotated, or duplicated.

To separate select the group and press Ungroup [G].

Copy / Paste Set-Ups from Between Spaces 

Copy/paste any event set-up directly into any other space in your account. 

Open an Event Plan  CTRL & A (to select everything) or Select[S] (to select specific objects)
CTRL & C (to copy)
Open the new event space from the Plans Page (Open an empty one)
CTRL & V will paste in the set-up into that space. 

All spaces have different dimensions so once you have pasted you may need to adjust it to fit the new space using the Move and Rotate Tools. 

Spacing Tools & Distances

by Nicky Morrogh Floor Plan Builder

Creating socially distanced event plans is the first step to getting clients back to hosting in-person meetings and events at your venue. Managing the social distancing requirements in the Floor Plan Builder is now easier with the new automatic spacing tool. This allows users to set the spacing distance and direction for a group of objects and apply that in one click. As guidelines around social distancing vary around the world this tool allows users to meet the local regulations to hosting events during the pandemic in their region. As the guidelines change you can easily update the spacing in any event plans to meet any new requirements.

How it works: 

Select the objects you want to space

Click on the Spacing icon in the left side menu

Select a Direction and input a distance in cm / ft / f / in ‘

Hit Apply Spacing

Note: To use Automatic Spacing the selected objects must be from the same category as objects have different boundary parameters due to their shape. For example when trying to automatically space a banquet round and a prop the builder cannot calculate the distance between those objects as the boundaries vary depending on their shape. 

Measuring Distances

The measurements tool in the left side menu (shortcut – Q) allows you to check distances between objects by clicking two points on the floor. It is also used to measure the dimensions of a space to check it accurately scaled. The Spacing Sidebar has a button to delete all measurements and the lower menu has the option to Show / Hide.

Note: Remember to click on the floor rather than on an object or wall to drop a marker.

Alignment Tools

The Align tools in the left hand menu allow you align objects perfectly and to distribute even spacing between multiple objects.

Note: If objects are more than 25% out of synch the auto align tools will not work so keep this in mind when using the align tool.

Importing Guest Lists

by Donal Martin Builder

IImporting guest lists to an event plan brings a whole new level of functionality for Visrez users. Not only are they superb sales tools but with the latest release they are even more valuable as users can create and export on the day seating plans from Visrez.

Guest Lists can be added by either uploading a CSV file or by entering guests manually on a table-per-table basis. Importing a CSV file is a lot faster than entering the names one by one so we recommend this option.

Here is how to get started: A new guest list tool is located on the left sidebar menu, indicated by the people icon.

This tool is only activated when tables have been saved to your event plan.

Once tables have been saved, then you can click the ‘Guests’ option in the left menu to open a new sidebar. This now includes the simplified table numbering tool which used to be found under the Edit Tools but has been moved to the Guests Tab).

Numbering Tables

The first step is to drawn on table numbers and save them in your plan. This can be done by either clicking on the tables one at a time or by clicking the left mouse button and drawing a path over the tables.

Table numbers must be saved before you can upload your list so once you are happy with the order click Save in the sidebar.

Importing from CSV

The quickest and easiest way to populate a guest list is to import from a CSV file. After tables numbers have been saved you can then import a CSV file by dragging it from your computer or by clicking within the import area.

Once selected click import to upload the list.

Please Note: CSV files should be formatted as follows

Adding or Editing Guests without Import

Guests can also be added on a per-table basis. This is done by selecting the table to add guests to and selecting the guests’ tool in the left side menu.

Using the Add tool you can then manually enter guest names, table names for each table in your plan.

Viewing Guests

Once guests have been imported, all names in the plan are listed under the View tab.

Exporting Guest Lists

Guest lists can be exported on their own using the Export tab where it can be exported as a PDF.

The guest list can also be included with the PDF export under the sharing options in the builder.

The number backgrounds can be customized in size or color using the tag options menu.

Notes & Graphic Tools

by Nicky Morrogh Floor Plan Builder

The text tool is located at the bottom of the main menu which opens a panel on the right which allows you to add notes, table numbers or onto your plans. This is a great way to mark up the plans with notes before sharing with clients for feedback and approval.

To add notes you click on any point on the floor plan and then write the notes in the text box. Font, color and size can be adjusted in the sidebar along with the text box background to ensure it clearly stands out against type of flooring material or texture.

You can move or rotate the text box or and it can be wrapped by reducing the width of the box using the arrow icons.

Drawing Tool

This tool works in a similar way to the measurements function. Just click on the model and drag the arrow or Circles & Square options to save it onto the floor plan. This is a great way to indicate large event spaces and the drawings are displayed in PDFs exports.

Directional arrows allow you to indicate the flow of traffic in an event diagram to differentiate between entry and exits.

Adding Stages & Platforms

by Nikolay Geranliev Floor Plan Builder

How to Create a Custom Stage in any Size

There are many ways to add stages to your event floor plans in the Builder. You can drop in a specific stage size from the Visrez library or create custom stages to any size using the Builder tools. It is fun to watch a stage being created to scale inside your 3D event plan.

Select the stage object from the Library and choose between adding a specific number or build options.

Using the build option just drag your mouse to the size you need and the stage will get built automatically.

Tip: Use the text tool to add a note beside the object to display dimensions in your PDF exports.

How to Build Dancefloors

by Nikolay Geranliev Floor Plan Builder

How to Create a Custom Dancefloor in any Size

There are a few ways to add dancefloors to your event floor plans in the Builder.

You can drop in a specific dancefloor straight from the Visrez library or create a custom size using the Builder.

Pick the dancefloor object from the Library and choose between adding a number or the build option.

The number option will allow you to place the exact number of dancefloor sections into your plan with one click.

The build option allows you to drag your mouse to the size you need and the dancefloor gets built automatically.

Both options are shown in the animation below and you can see how easy it is to create dancefloors to any size.

Adding Client Logos

by Nicky Morrogh Floor Plan Builder

Customizing event diagrams with client branding is a superb way to engage event planners during the prospecting stage. Sharing a 3D event plan featuring their logo on screen guarantees a great first impression and will help your venue stand head and shoulders above the competition. Here is how it’s done. In the Audio Visual category of the Visrez library you will notice the screens display an icon beside the + or check mark. This icon indicates that this object allows users to upload a logo for your plans.

Once the editable object has been added to your collection you will see that the image icon is blue to indicate that you can upload a logo to your library and then select that logo from inside your builder.

Logos can be uploaded and stored in your library for use in any event space diagram on any editable screen.

Now the logo is available in your builder when you select an editable screen you have another step to select the logo from the library.

Sharing & Export Options

by Nicky Morrogh Floor Plan Builder

Once you have finished working on your plan and are ready to send it click ‘Share‘ in the top menu and then select the option from the shared dropdown. Visrez allows users to export plans in multiple formats including Interactive Shared Links, PDFs and PNG image. Builder plans can be exported in 3D with multiple views, 2D or black and white schematic format. You can also include notes, equipment breakdown, table numbers, object dimensions and other useful information which we will explain in this guide.

Shared Links

The first option in the list is the Shared Link which allows you to send a link to your client which allows them to view, approve or request edit access to the plan. This is the quickest way to share an event plan with your clients. Shared links updated in real time so if you make a change to your event plan all your client needs to do is refresh the link to see the most up to date version of the plan. You do not need to resend a new link as changes to the plans update in real time.

PDF Export Options

PDF is the second option is the sharing menu and has a range of views and elements which can be added to all PDF exports. You can up to three 3D views of your event plan along with 2D or Black & White Schematic views and a range of other note options in your PDFs. Floor Plan Builder PDF exports all come with a built in link to the shared plan so all your client needs to do is click in the PDF and this will load the interactive shared version of the plan in their browser.

Visrez allows users to export both full color 3D or 2D Black and White in the same PDF so you can present the plan in multiple formats. From a sales perspective the 3D version is more impressive but many operations teams prefer to work from the old style black and white format. Having both options gives you the flexibility to decide what to send to different user groups. If you want you can export all the views in the one PDF however this will be a large file and will take a while to download and it will also slower to email. Either way the platform gives you all the formats you need to communicate effectively to all stakeholders from clients to set-up and operations teams.

Equipment Breakdown Page

Users can export a breakdown of all the furniture used in the event set up along with a thumbnail image in a separate table. This breakdown can be included in your PDF export or on its own as a separate PDF. This is a really useful way to provide both the client and the operations team with a summary of all the furniture and staging props required in any event plan. This information can be used like a checklist for the set-up team to make sure they have all the necessary elements in place for the event.

Event Plan Annotations

User can also include annotations in the exports which allow you to add even more detail to the shared PDFs. These options include Table Numbers, Object Dimensions, In Plan Measurements, Chair Counts Per Table, Service Perimeters around tables. You can also customize the size, color and text size in the circular tags which are used to overlay table numbers in your plan.

All these elements can be customized in your PDF or PNG image export so you can include detailed, object specific information on every element of your event plan such as the object size, chair count, service clearance around the object.

Adding optional information such as the Event Date, Time, BEO to the PDF can be done under the plan settings field. This allows users to populate the area underneath the client logo with event specific information such as date, time and the BEO reference for the team.

Sharing Plans with Tags

by Nicky Morrogh Floor Plan Builder

Adding Tags to your event plans allows you to group a series of plans together and share outside of Visrez with your client. For example if you have a client event being staged in multiple spaces at your venue and you want to share all the event plans on a single page you can create a tag for that event or client. Then all you need to do is add that tag to all plans linked with that client event, and by clicking in the tag button you can get a simple URL which can be shared with the client. 

Tags are displayed on the plans page and you can filter all tags in the dropdown controls at the top of the page. Tags are a great way to organize plans by respective client names rather than creating sub-folders within your account you simply tag the plan with the client name and then you can filter plans by that tag. 

Visrez generates a simple URL for the tag so you can send a link to your client which displays all the plans tagged for their event which can be viewed without needing an account on the platform. So if your client is using multiple spaces at your venue you can share a page outside your account with all the plans listed for their events.

Here for an example of a set of event plans shared using tags in a client account.

Client Collaboration

by Nicky Morrogh Floor Plan Builder

Floor Plan Builder diagrams all come with an interactive shared link which allows you to email plans or insert a link with your proposal. To distribute a shared link you first copy it from your builder. This is the first option under the Share Menu in the top of your builder. Clicking on the Share Link opens the right sidebar where you can then copy the link.

Shared links update in real time so if you make further changes to your plan you do not need to send a new link as the update will be reflected automatically on the client side. To test a shared link before you send, open a private window in Chrome (CRTL + Shift + N) and paste it into the private browser. You will notice the left side menu is disabled but the user can rotate and zoom the model and check measurements and save screenshots. The airwall function is activated on shared links so the user can turn walls on / off using the airwall function on a shared link.

Team Collaboration

Users can invite other team members to collaborate on the same plan within their accounts by using the Share > Team option. This allows multiple users in the same team to work together on any event plan once they are invited by the plan creator. Users can still copy another users event plan but if you need to work with colleagues on the same event plan its best to other members to the plan. To do this click on Share > Team and select the users from the right sidebar to invite them to the plan. When a plan is shared amongst team members an icon is displayed on the /plans page to indicate it is shared amongst team members.

Event Planner & Third Party Collaboration

Event planners and outside partners can be invited to your team’s Visrez account to edit plans which have been shared with them. This allows your team to collaborate with outside event planners and third party suppliers on any Floor Plan Builder diagram. Partners can be invited to plans by any team member and once the partner has registered their account they have access only to the plans which have been shared with them. Partners do not have access to the Visrez library or any other areas of your team account. Planners & Partners cannot select furniture or objects from the Visrez library but can use the client collection. To invite an event planner or third partner to your plan select the Share > Partner option from the Share menu in the top of your builder.

Clicking on the Share > Partner option will display a list of the registered partners who can be invite to collaborate on the event plan.

Partners have to be registered on your Team account before they can be invited to collaborate on any builder plans. All users can invite partners to event plans by clicking on the Manage Partners in lower right hand side of the homepage.

To add a partner to your Team’s Visrez account just Click on the Plus + and enter in the Partner’s email address and save.

Partners receive an email notification displaying the branding of the property they have been invited to. Once they have registered on Visrez they see a /plans page displaying all the diagrams shared with them by the on-property contact. Planner accounts can include event plans across more than one property if they work with other venues which use Visrez and have been invited to those accounts.

When an event plan is shared with a partner a new icon is displayed on the /plans page so you can tell it is shared outside the team.

Partners can create new event plans from inside the builder by clicking on the New > Empty Space or New > Plan Builder Options.

Partners only see the plans which have been shared with them and do not have access to any of the other plans created by your team.

Client Plan Approvals

by Nicky Morrogh Floor Plan Builder

To edit event descriptions, dates and times and include additional notes in PDF exports you click on the event settings icon. This is located in the top right hand corner of the builder and opens a sidebar with options.

In the sidebar there is a summary of the objects and props in the plan along with the event name and description which are editable.

Clicking on the edit button allows you to add information or include date & times for your event which is included in the PDF export.

Details added into these text boxes are included on the last page of a PDF export.

Clients can now approve event plans using the shared link and submit final notes along for their event. Once a plan has been approved both your team and your client are notified by email so everyone is on the same page.

Once a plan has been approved it is marked with a green icon on the /plans page so its is clear to the team.

Here is the process from copying the link to approving the plan and displaying on the plans page.

Troubleshooting

by Nicky Morrogh Floor Plan Builder

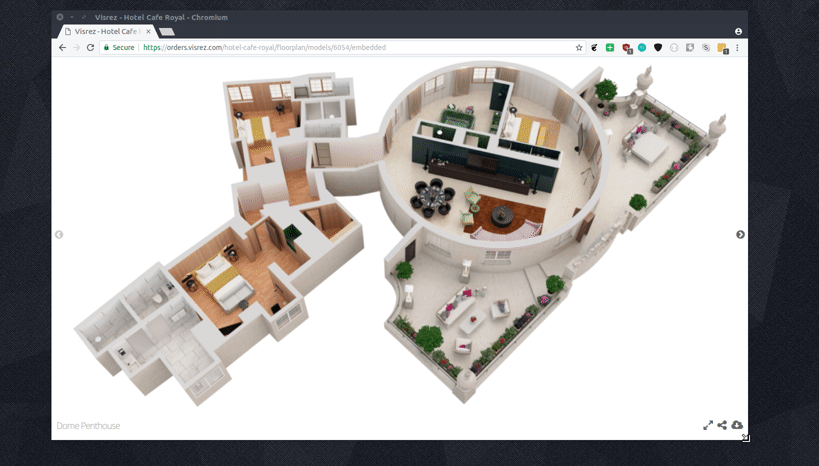
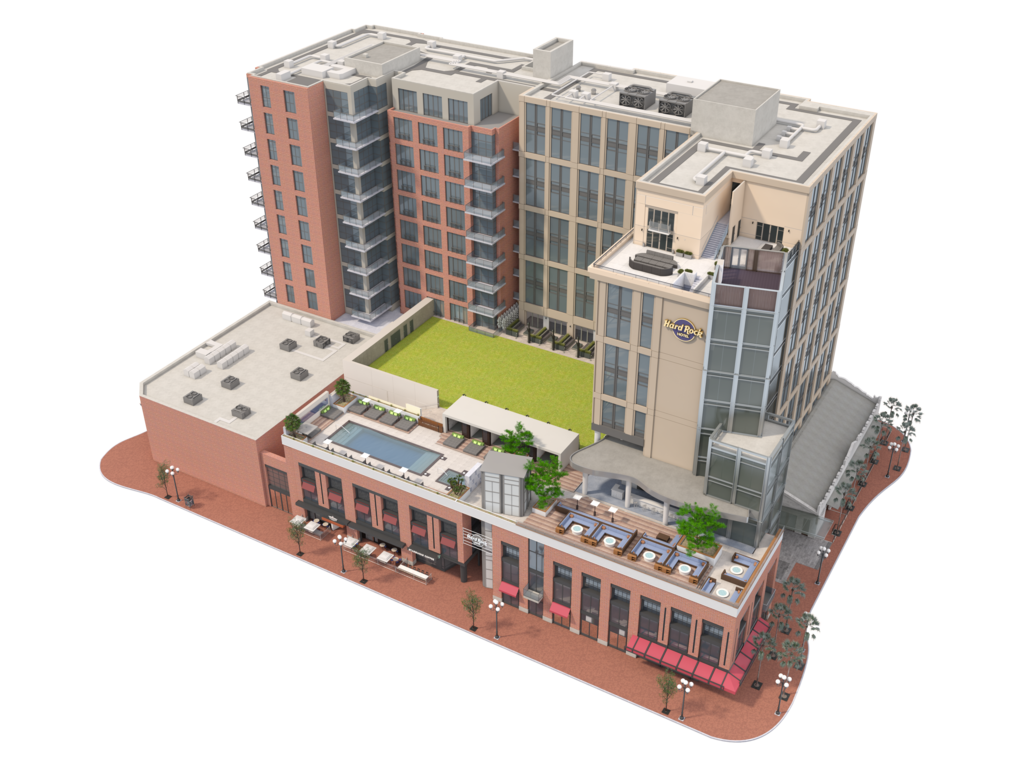
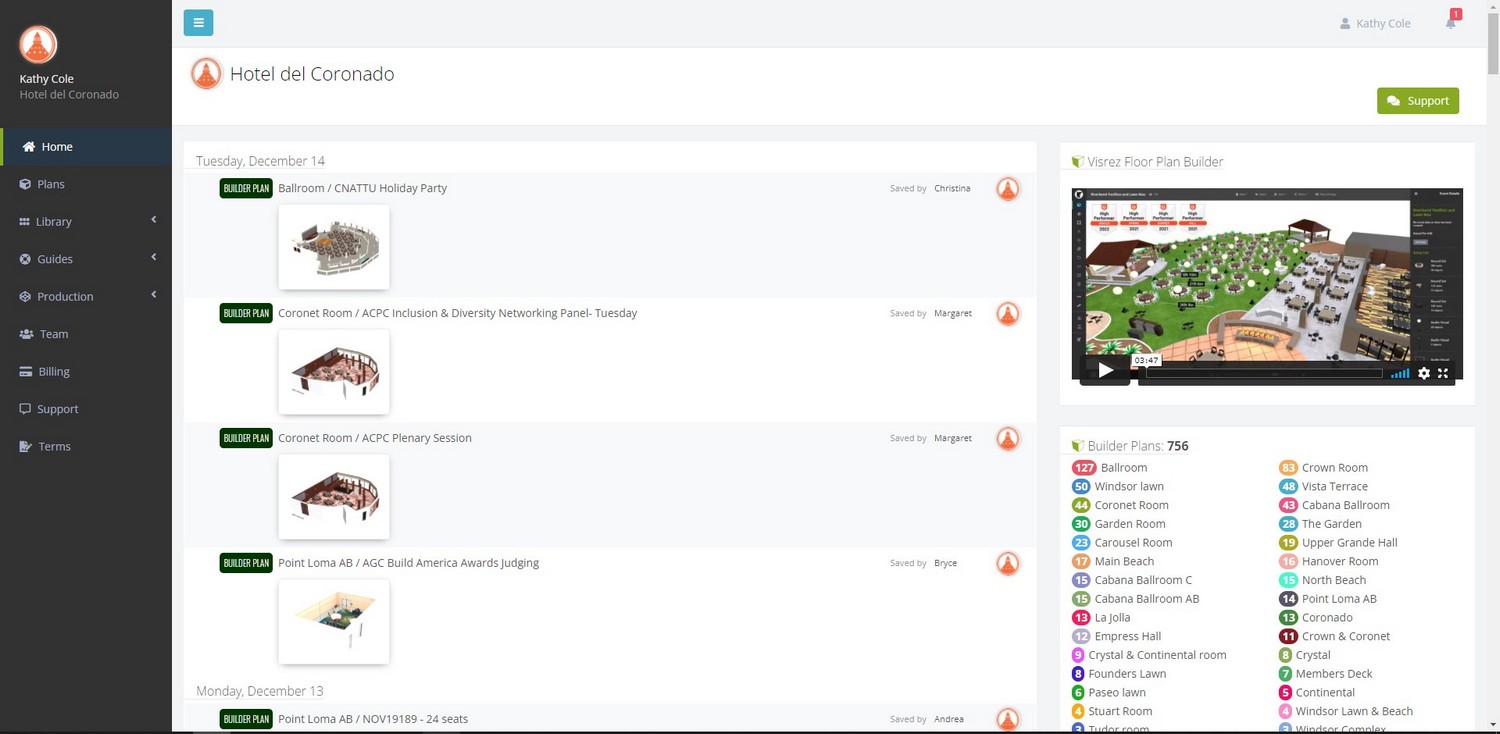
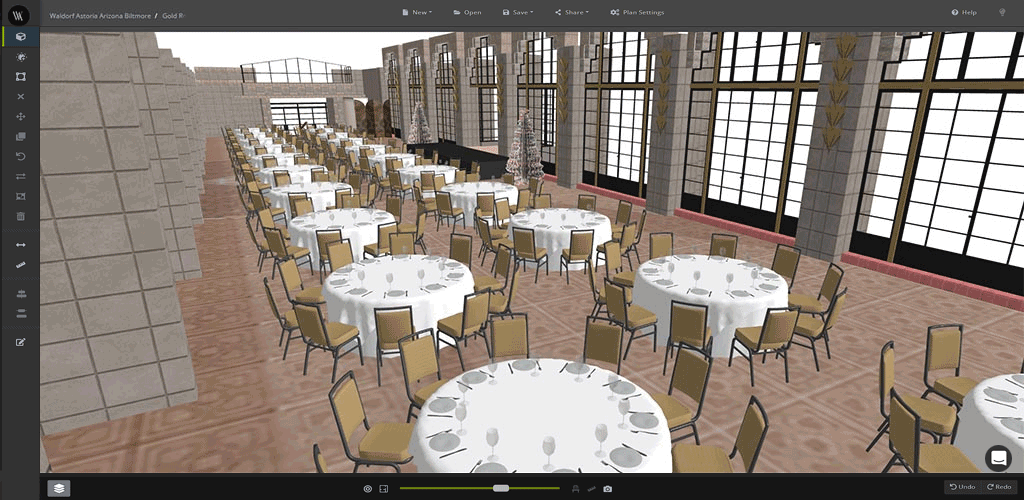
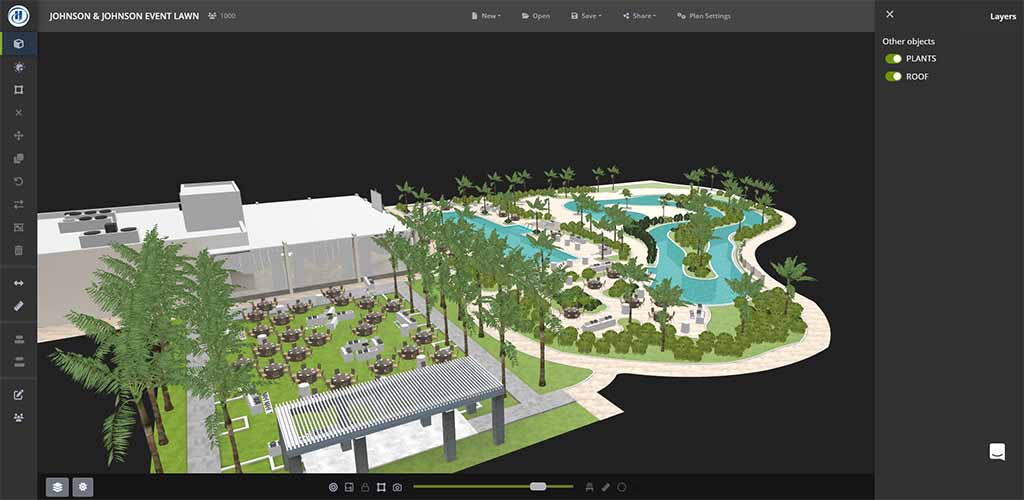
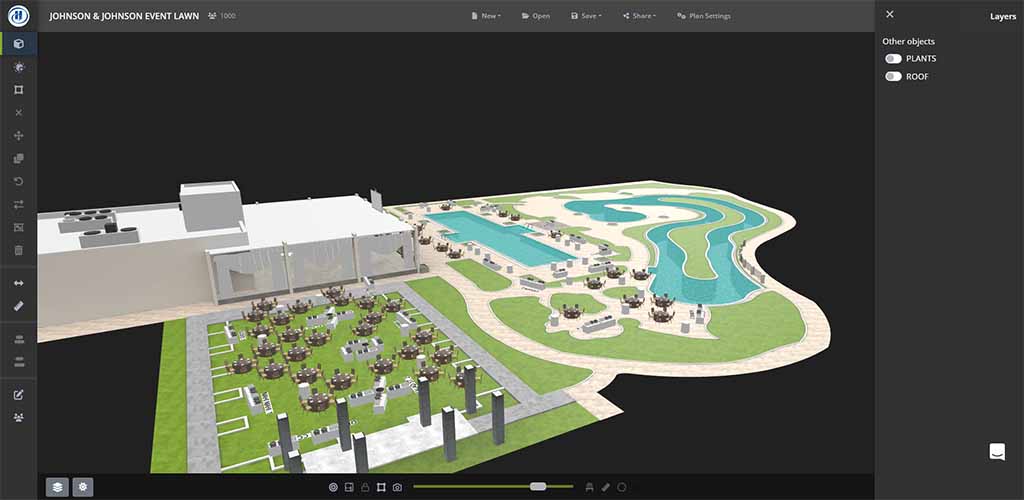
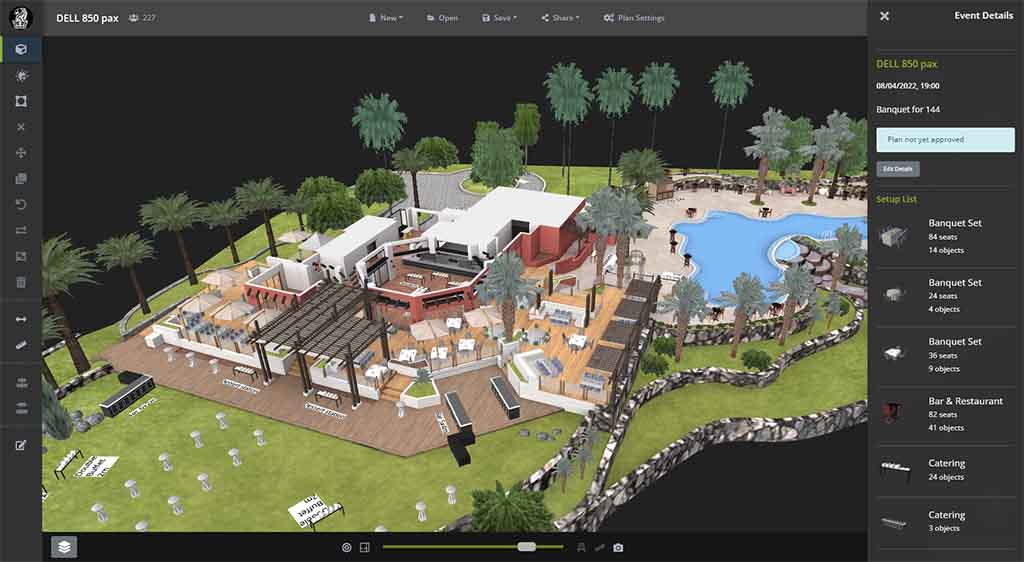
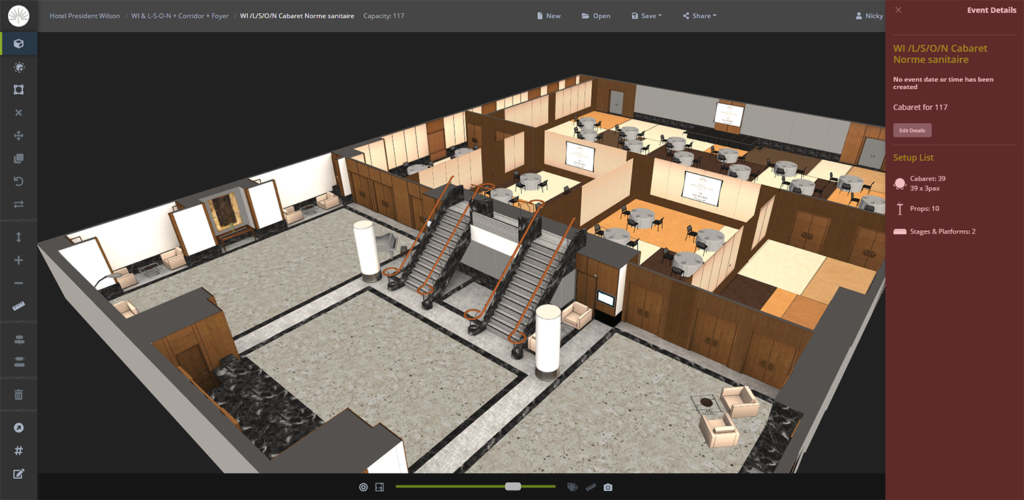
WebGL is a JavaScript API for rendering interactive 2D and 3D graphics within any compatible web browser without the use of plug-ins. Visrez Floor Plan Builder uses WebGL and Three.JS to load the 3D event spaces and furniture in the browser. To check if WebGL is activated in your browser you can use this link . (You should see the spinning cube if your browser supports WebGL).

Chrome

Chrome has full support for WebGL on all platforms, so if you’re having trouble running WebGL on Chrome, you simply may need to update to a more recent version of Chrome. If you are using the most recent version of Chrome make sure the “Use hardware acceleration when available” setting is enabled in your Chrome settings by taking the following steps

Go to chrome://settings in your address bar, or click the three dots in the upper-right corner of the browser window and select Settings.

Scroll to the bottom of the page and click Advanced.

In the System section, toggle Use hardware acceleration when available to the ON position (the button should be blue).

Click the Relaunch button to restart Chrome and apply your new settings.

Firefox

If you’re having trouble running WebGL in Firefox, please take the following steps:

Go to about:config in your address bar.

Search for webgl.force-enabled and make sure this preference is set to true.

If it’s currently set to false, click the toggle icon on the far right to change.

Search for webgl.disabled and make sure this preference is set to false.

If it’s currently set to true, click the toggle icon on the far right to change.

Restart Firefox.

If you’re still having trouble running WebGL in Firefox on a Windows computer after taking these steps, your graphics driver may be to blame; WebGL is not compatible with certain graphics drivers. If you continue to have trouble, you can either update your driver (IntelAMD, or NVIDIA), or (recommended) simply switch to a compatible browser.

Safari

WebGL is generally enabled by default in Safari. However, if you are using a computer on which WebGL may present a security risk, you may have to enable WebGL manually by taking the following steps:From the menu bar, click Safari and then select Preferences.

Select the Websites tab.

Select WebGL from the list on the left side of the window.

Edge

WebGL is only supported on Internet Explorer 11 and Edge. If you are running Windows 8 or Windows 7, update your Internet Explorer to version 11. If you’re running an earlier version of Windows, either update your operating system or switch to a compatible browser.

Login Issues

Occasionally users can experience a login issue where the builder is trying to load the space but fails due to a login loop error. This happens when the browser/security software is clearing cookies or the cookie file is corrupted. To solve this log out of your account and log back in and this will solve the problem.

System requirements

Minimum

Any OS with browser supporting WebGL
Any CPU Intel i3/ i5/ i7/ Ryzen (with integrated graphics card Intel HD 5500 or above e.g. Intel® Core™ i5-5200U Processor Launch Date Q1’15)
Any GPU that is compatible with WebGL (integrated graphics card Intel HD 5500, dedicated graphics card GeForce GTX 980 or above)
4GB of Ram

Recommended

Any OS with browser supporting WebGL
Any CPU Intel i3/ i5/ i7/ Ryzen (with integrated graphics card Intel® HD Graphics 630 or above e.g. Intel® Core™ i7-7700K Launch Date Q1’17)
Any GPU that is compatible with WebGL(integrated graphics card Intel® HD Graphics 630 or above, dedicated graphics card GeForce GT 1030 or above)
4GB of Ram